oVirt adalah solusi virtualisasi terdistribusi gratis dan open-source yang dapat digunakan untuk mengelola seluruh infrastruktur Anda. Ini didasarkan pada Red Hat Enterprise Virtualization dan memungkinkan Anda untuk mengelola mesin virtual, komputasi, penyimpanan, dan sumber daya jaringan dari antarmuka berbasis web. Ini menggunakan hypervisor KVM dan dibangun di atas beberapa proyek komunitas lainnya, termasuk libvirt, Gluster, PatternFly, dan Ansible.
Dalam tutorial ini, kami akan menjelaskan cara menginstal oVirt di server CentOS 8.
Prasyarat
- Server yang menjalankan CentOS 8 dengan RAM minimal 16 GB.
- Sandi root dikonfigurasi untuk server.
Memulai
Sebelum memulai, Anda perlu mengatur nama host FQDN di sistem Anda. Anda dapat melakukannya dengan perintah berikut:
hostnamectl set-hostname centos.example.com
Selanjutnya, Anda perlu mengedit file /etc/hosts dan mengikat IP sistem Anda dengan nama host.
nano /etc/hosts
Tambahkan baris berikut:
your-server-ip centos.example.com
Simpan dan tutup file setelah Anda selesai.
Instal Repositori yang Diperlukan
Selanjutnya, Anda perlu menambahkan oVirt dan repositori lain yang diperlukan di sistem Anda.
Pertama, instal repositori oVirt dengan perintah berikut:
dnf install https://resources.ovirt.org/pub/yum-repo/ovirt-release44.rpm
Setelah terinstal, aktifkan alat paket Java, pki-deps dan modul PostgreSQL dengan perintah berikut:
dnf module enable javapackages-tools -y
dnf module enable pki-deps -y
dnf module enable postgresql:12 -y
Setelah selesai, Anda dapat melanjutkan ke langkah berikutnya.
Instal dan Siapkan Mesin oVirt
Pertama, perbarui repositori menggunakan perintah berikut:
dnf update -y
Setelah repositori diperbarui, instal Mesin oVirt menggunakan perintah berikut:
dnf install ovirt-engine -y
Setelah instalasi selesai, Anda dapat mengkonfigurasi oVirt Engine dengan perintah berikut:
engine-setup
Anda akan ditanya beberapa pertanyaan selama penyiapan seperti yang ditunjukkan di bawah ini:
          --== PRODUCT OPTIONS ==--

          Configure Cinderlib integration (Currently in tech preview) (Yes, No) [No]: Yes
          Configure Engine on this host (Yes, No) [Yes]: Yes

          Configuring ovirt-provider-ovn also sets the Default cluster.'s default network provider to ovirt-provider-ovn.
          Non-Default clusters may be configured with an OVN after installation.
          Configure ovirt-provider-ovn (Yes, No) [Yes]: Yes
          Configure WebSocket Proxy on this host (Yes, No) [Yes]: Yes

          * Please note * : Data Warehouse is required for the engine.
          If you choose to not configure it on this host, you have to configure
          it on a remote host, and then configure the engine on this host so
          that it can access the database of the remote Data Warehouse host.
          Configure Data Warehouse on this host (Yes, No) [Yes]: Yes
          Configure Grafana on this host (Yes, No) [Yes]: Yes
          Configure VM Console Proxy on this host (Yes, No) [Yes]: Yes

          --== PACKAGES ==--

[ INFO  ] Checking for product updates...
[ INFO  ] No product updates found

          --== NETWORK CONFIGURATION ==--

          Host fully qualified DNS name of this server [centos.example.com]: Yes
[WARNING] Host name Yes has no domain suffix
[ ERROR ] Host name is not valid: Yes did not resolve into an IP address
          Host fully qualified DNS name of this server [centos.example.com]:
[WARNING] Failed to resolve centos.example.com using DNS, it can be resolved only locally

          Setup can automatically configure the firewall on this system.
          Note: automatic configuration of the firewall may overwrite current settings.
          Do you want Setup to configure the firewall? (Yes, No) [Yes]: Yes
          --== DATABASE CONFIGURATION ==--

          Where is the DWH database located? (Local, Remote) [Local]: Local

          Setup can configure the local postgresql server automatically for the DWH to run. This may conflict with existing applications.
          Would you like Setup to automatically configure postgresql and create DWH database, or prefer to perform that manually? (Automatic, Manual) [Automatic]:
          Where is the ovirt cinderlib database located? (Local, Remote) [Local]:
          Setup can configure the local postgresql server automatically for the CinderLib to run. This may conflict with existing applications.
          Would you like Setup to automatically configure postgresql and create CinderLib database, or prefer to perform that manually? (Automatic, Manual) [Automatic]:
          Where is the Engine database located? (Local, Remote) [Local]:

          Setup can configure the local postgresql server automatically for the engine to run. This may conflict with existing applications.
          Would you like Setup to automatically configure postgresql and create Engine database, or prefer to perform that manually? (Automatic, Manual) [Automatic]:

          --== OVIRT ENGINE CONFIGURATION ==--

          Engine admin password:

          --== SUMMARY ==--

[ INFO  ] Restarting httpd
          Please use the user '[email protected]' and password specified in order to login
          Web access is enabled at:
              http://centos.example.com:80/ovirt-engine
              https://centos.example.com:443/ovirt-engine
          Internal CA 65:FA:CD:BF:DD:2D:F4:99:D6:63:85:80:97:B9:66:B9:C7:29:5A:F3
          SSH fingerprint: SHA256:Y46liXyme5Fz/oJA9QaYY1dhK8BKeJiw1kcSjOYL204
[WARNING] Less than 16384MB of memory is available
          Web access for grafana is enabled at:
              https://centos.example.com/ovirt-engine-grafana/
          Please run the following command on the engine machine centos.example.com, for SSO to work:
          systemctl restart ovirt-engine

          --== END OF SUMMARY ==--

[ INFO  ] Stage: Clean up
          Log file is located at /var/log/ovirt-engine/setup/ovirt-engine-setup-20200830105920-2u1ydn.log
[ INFO  ] Generating answer file '/var/lib/ovirt-engine/setup/answers/20200830110513-setup.conf'
[ INFO  ] Stage: Pre-termination
[ INFO  ] Stage: Termination
[ INFO  ] Execution of setup completed successfully
Setelah instalasi berhasil, Anda akan mendapatkan URL konsol admin oVirt dan dasbor Grafana pada output di atas.
Konfigurasi SELinux dan Firewall
Secara default, SELinux diaktifkan di CentOS 8. Jadi, Anda perlu mengkonfigurasi SELinux untuk oVirt. Anda dapat mengkonfigurasinya dengan perintah berikut:
setsebool -P httpd_can_network_connect 1
Selanjutnya, Anda harus mengizinkan port 80 dan 443 melalui firewalld. Anda dapat melakukannya dengan perintah berikut:
firewall-cmd --permanent --zone public --add-port 80/tcp
firewall-cmd --permanent --zone public --add-port 443/tcp
firewall-cmd --reload
Setelah selesai, Anda dapat melanjutkan ke langkah berikutnya.
Akses Konsol Admin oVirt
Sekarang, buka browser web Anda dan ketik URL https://centos.example.com/ovirt-engine/sso/login.html. Anda akan melihat halaman login oVirt:
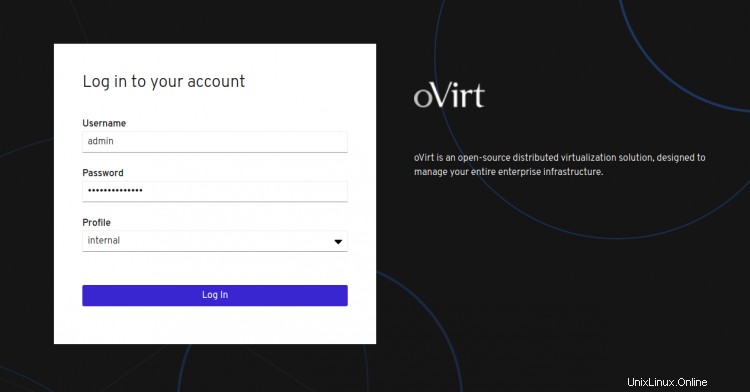
Berikan nama pengguna sebagai admin dan kata sandi yang telah Anda atur selama instalasi, dan klik Log Dalam tombol. Anda akan melihat layar berikut:
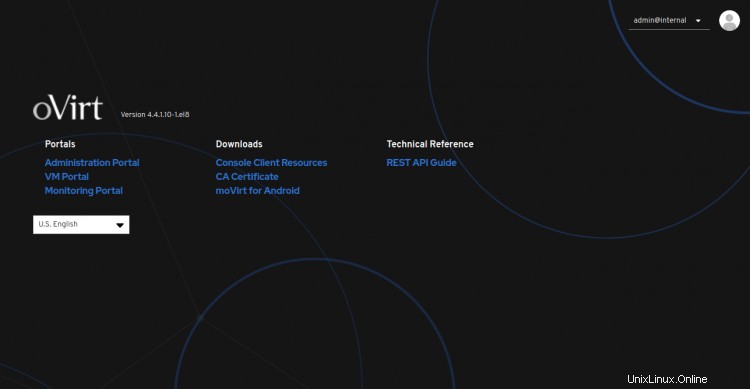
Sekarang, klik Administrasi Portal . Anda akan melihat Dasbor oVirt di layar berikut:
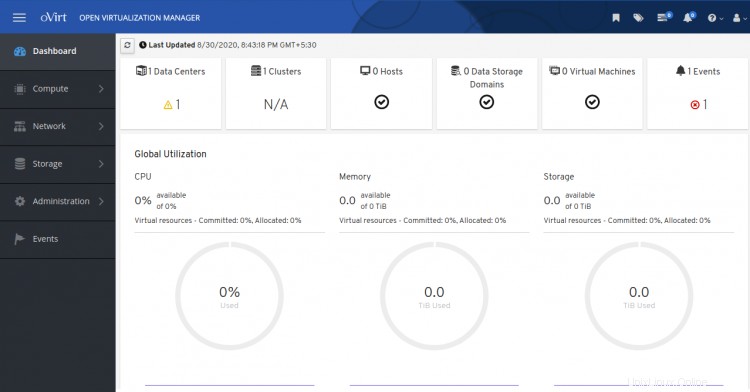
Kesimpulan
Selamat! Anda telah berhasil menginstal oVirt Engine di server CentOS 8. Sekarang Anda dapat menambahkan host Virtualisasi jarak jauh dari konsol oVirt dan mulai membuat mesin virtual pertama Anda dari dasbor oVirt. Jangan ragu untuk bertanya kepada saya jika Anda memiliki pertanyaan.