LEMP adalah model open source dari web service stack yang terdiri dari empat komponen:Linux, Nginx, MariaDB dan PHP. Tumpukan LEMP digunakan untuk mengembangkan dan menyebarkan aplikasi web. Sebagian besar aplikasi web dijalankan pada tumpukan LEMP, jadi sangat penting bagi administrator sistem untuk dapat mengamankan tumpukan LEMP dengan SSL. Jika Anda adalah pengembang situs web atau blogger baru yang mencari peningkatan lalu lintas web organik, maka penting untuk memiliki server web berkemampuan SSL untuk SEO (pengoptimalan mesin telusur).
Let's Encrypt adalah otoritas sertifikat sumber terbuka dan gratis yang menyediakan sertifikat SSL gratis. Let's Encrypt adalah otoritas sertifikat nirlaba yang bertujuan untuk menciptakan Web yang lebih aman dengan mempromosikan adopsi HTTPS secara luas.
Dalam tutorial ini, kita akan mempelajari cara mengamankan server LEMP dengan Let's Encrypt SSL gratis di Ubuntu 18.04 VPS.
Prasyarat
- VPS server Ubuntu 18.04 baru di Atlantic.net Cloud.
- Nama domain yang valid menunjuk ke alamat IP VPS Anda. Dalam tutorial ini, kita akan menggunakan example.com.
Langkah 1 – Buat Server Cloud Atlantic.Net
Pertama, masuk ke Server Cloud Atlantic.Net Anda. Buat server baru, pilih Ubuntu 18.04 sebagai sistem operasi, dengan setidaknya 2GB RAM. Hubungkan ke Server Cloud Anda melalui SSH dan masuk menggunakan kredensial yang disorot di bagian atas halaman.
Setelah Anda masuk ke server Ubuntu 18.04 Anda, jalankan perintah berikut untuk memperbarui sistem dasar Anda dengan paket terbaru yang tersedia.
apt-get update -y
Langkah 2 – Instal LEMP di Server
Pertama, instal LEMP di server dengan menjalankan perintah berikut:
apt-get install nginx mariadb-server php php-common -y
Setelah semua paket terinstal, mulai layanan web Nginx dan aktifkan untuk memulai setelah sistem reboot dengan perintah berikut:
systemctl start nginx
systemctl enable nginx
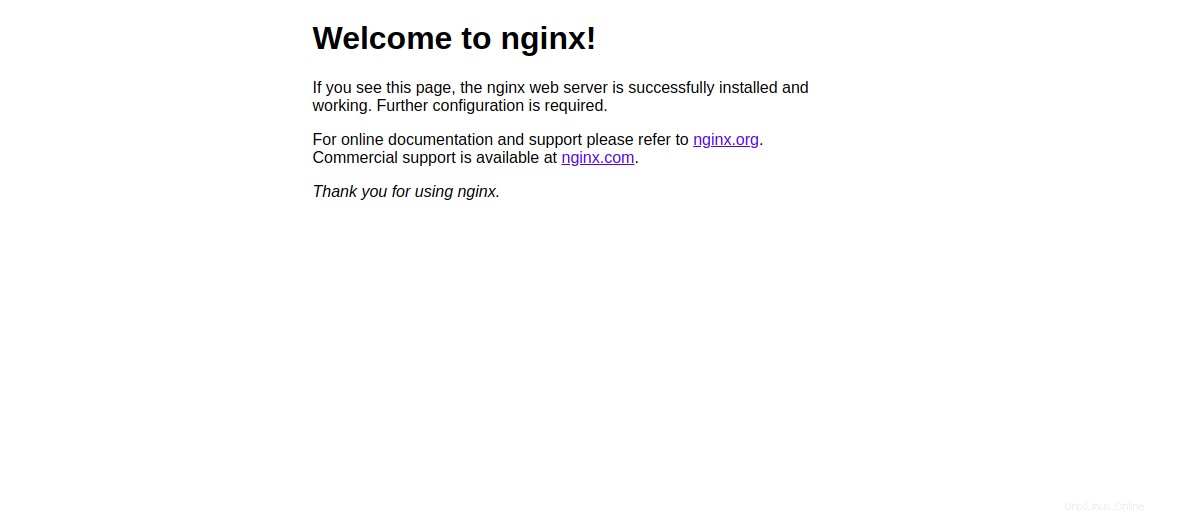
Selanjutnya, buka browser web Anda dan ketik URL http://example.com. Anda akan melihat halaman default Nginx:
Langkah 3 – Buat Situs Nginx untuk Domain Anda
Selanjutnya, Anda perlu membuat virtual host Nginx untuk domain Anda. Kami akan menginstal Let's Encrypt SSL gratis di situs ini nanti.
Anda dapat membuatnya dengan perintah berikut:
nano /etc/nginx/sites-available/example.com.conf
Tambahkan baris berikut:
server {
   listen 80;

   root /var/www/html;

   index index.html;

   server_name example.com;

   location / {
      try_files $uri $uri/ =404;
   }

}
Simpan dan tutup file. Kemudian, aktifkan virtual host Nginx dengan perintah berikut:
ln -s /etc/nginx/sites-available/example.com.conf /etc/nginx/sites-enabled/
Selanjutnya, periksa Nginx untuk kesalahan sintaks dengan perintah berikut:
nginx -t
Jika semuanya berjalan dengan baik, Anda akan melihat output berikut:
nginx: the configuration file /etc/nginx/nginx.conf syntax is ok
nginx: configuration file /etc/nginx/nginx.conf test is successful
Terakhir, restart layanan Nginx untuk menerapkan perubahan konfigurasi:
systemctl restart nginx
Selanjutnya, buat file index.html untuk domain Anda:
nano /var/www/html/index.html
Add the following lines:

<html>
Nginx web server is now secured with Let's Encrypt free SSL
</html>
Simpan dan tutup file. Kemudian, ubah kepemilikan file menjadi www-data dengan perintah berikut:
chown www-data: /var/www/html/index.html
Langkah 4 – Instal Let's Encrypt di Domain Anda
Nginx sekarang terinstal dan berjalan. Saatnya mengamankannya dengan Let's Encrypt SSL gratis.
Pertama, Anda perlu menginstal alat Certbot untuk mendapatkan sertifikat SSL gratis dari Let's Encrypt dan menginstalnya di domain Anda. Certbot adalah alat gratis dan berfitur lengkap yang mengotomatiskan proses mendapatkan dan memasang SSL di domain Anda.
Anda dapat menambahkan repositori menggunakan perintah berikut:
add-apt-repository ppa:certbot/certbot
Setelah repositori ditambahkan, perbarui repositori dan instal Certbot dengan perintah berikut:
apt-get update -y
apt-get install python-certbot-nginx -y
Setelah terinstal, jalankan perintah berikut untuk mendapatkan dan menginstal sertifikat untuk domain Anda:
certbot --nginx -d example.com
Selama instalasi, Anda harus memberikan alamat email Anda dan menyetujui Persyaratan Layanan seperti yang ditunjukkan di bawah ini:
Saving debug log to /var/log/letsencrypt/letsencrypt.log
Plugins selected: Authenticator nginx, Installer nginx
Enter email address (used for urgent renewal and security notices) (Enter 'c' to
cancel): example@unixlinux.online

- - - - - - - - - - - - - - - - - - - - - - - - - - - - - - - - - - - - - - - -
Please read the Terms of Service at
https://letsencrypt.org/documents/LE-SA-v1.2-November-15-2017.pdf. You must
agree in order to register with the ACME server at
https://acme-v02.api.letsencrypt.org/directory
- - - - - - - - - - - - - - - - - - - - - - - - - - - - - - - - - - - - - - - -
(A)gree/(C)ancel: A

- - - - - - - - - - - - - - - - - - - - - - - - - - - - - - - - - - - - - - - -
Would you be willing to share your email address with the Electronic Frontier
Foundation, a founding partner of the Let's Encrypt project and the non-profit
organization that develops Certbot? We'd like to send you email about our work
encrypting the web, EFF news, campaigns, and ways to support digital freedom.
- - - - - - - - - - - - - - - - - - - - - - - - - - - - - - - - - - - - - - - -
(Y)es/(N)o: N
Ketik N dan tekan Enter untuk melanjutkan. Anda akan melihat output berikut:
Obtaining a new certificate
Performing the following challenges:
http-01 challenge for example.com
Waiting for verification...
Cleaning up challenges
Deploying Certificate to VirtualHost /etc/nginx/sites-enabled/example.com.conf

Please choose whether or not to redirect HTTP traffic to HTTPS, removing HTTP access.
- - - - - - - - - - - - - - - - - - - - - - - - - - - - - - - - - - - - - - - -
1: No redirect - Make no further changes to the webserver configuration.
2: Redirect - Make all requests redirect to secure HTTPS access. Choose this for
new sites, or if you're confident your site works on HTTPS. You can undo this
change by editing your web server's configuration.
- - - - - - - - - - - - - - - - - - - - - - - - - - - - - - - - - - - - - - - -
Select the appropriate number [1-2] then [enter] (press 'c' to cancel):
Here, you will need to select option 1 or 2. Option 1 only downloads the Let's Encrypt certificate and does not change your web server configuration file.
Option 2 will download the Let's Encrypt certificate and configure your webserver config file to redirect all requests to secure HTTPS access.

Please select option 2 and hit Enter. Once the installation has been completed successfully, you should see the following output:

Redirecting all traffic on port 80 to ssl in /etc/nginx/sites-enabled/example.com.conf

- - - - - - - - - - - - - - - - - - - - - - - - - - - - - - - - - - - - - - - -
Congratulations! You have successfully enabled https://example.com

You should test your configuration at:
https://www.ssllabs.com/ssltest/analyze.html?d=example.com
- - - - - - - - - - - - - - - - - - - - - - - - - - - - - - - - - - - - - - - -

IMPORTANT NOTES:
- Congratulations! Your certificate and chain have been saved at:
/etc/letsencrypt/live/example.com/fullchain.pem
Your key file has been saved at:
/etc/letsencrypt/live/example.com/privkey.pem
Your cert will expire on 2019-11-17. To obtain a new or tweaked
version of this certificate in the future, simply run certbot again
with the "certonly" option. To non-interactively renew *all* of
your certificates, run "certbot renew"
- Your account credentials have been saved in your Certbot
configuration directory at /etc/letsencrypt. You should make a
secure backup of this folder now. This configuration directory will
also contain certificates and private keys obtained by Certbot so
making regular backups of this folder is ideal.
- If you like Certbot, please consider supporting our work by:

Donating to ISRG / Let's Encrypt: https://letsencrypt.org/donate
Donating to EFF: https://eff.org/donate-le
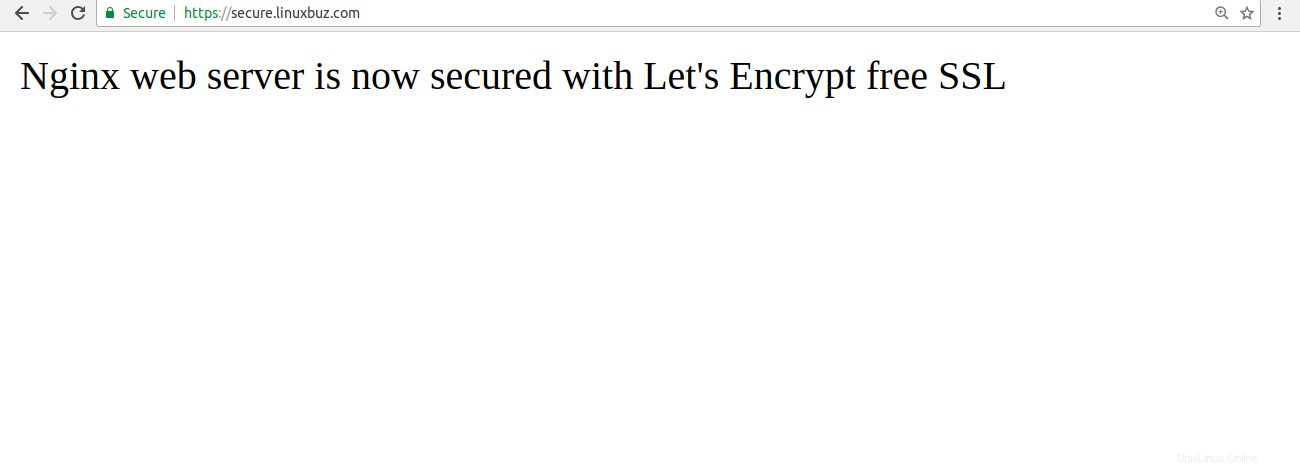
Sekarang, buka browser web Anda dan ketik URL https://example.com. Anda akan melihat bahwa ini menunjukkan bahwa situs Anda aman.
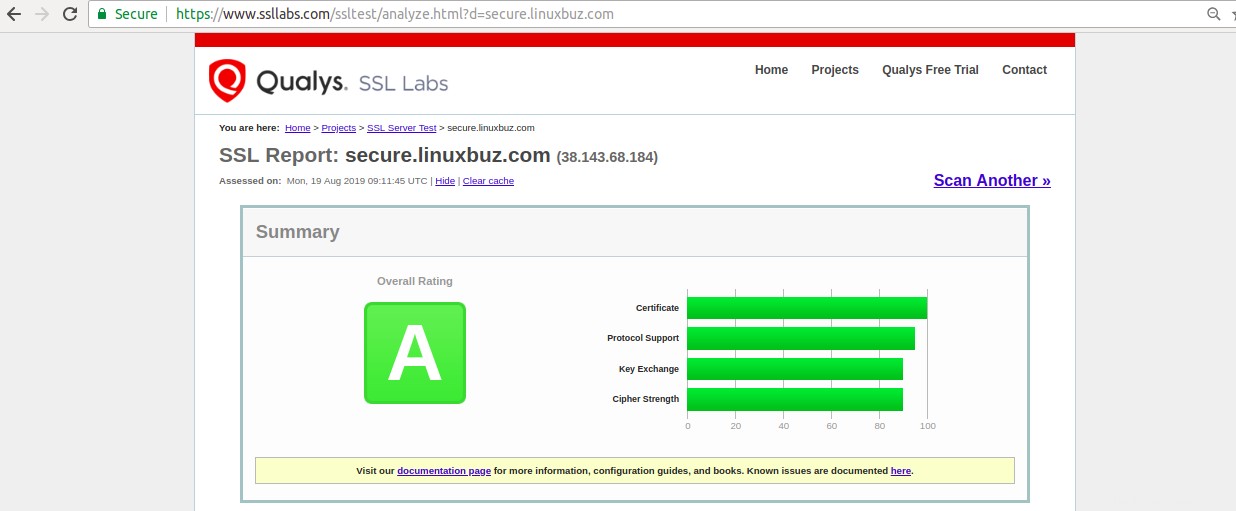
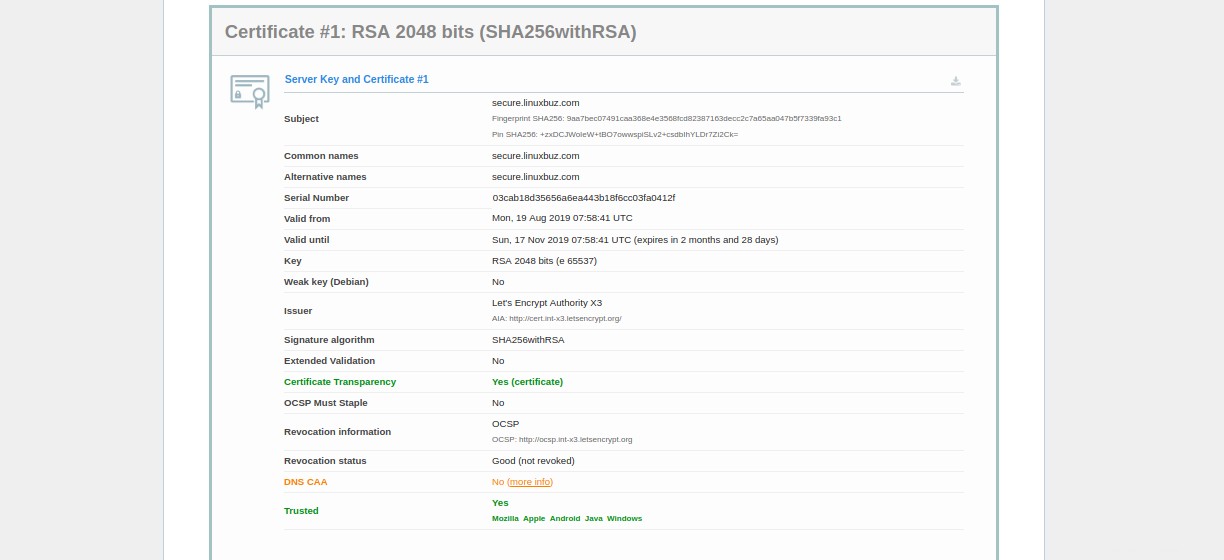
Sementara itu, Anda juga dapat menguji server Anda menggunakan SSL Labs Server Test :
Langkah 5 – Siapkan Let's Encrypt SSL Certificate Auto-Renewal
Anda dapat mengatur perpanjangan otomatis dengan mengedit file crontab seperti yang ditunjukkan di bawah ini:
crontab -e
Tambahkan baris berikut:
12 8 * * * root /usr/bin/certbot renew >/dev/null 2>&1
Simpan dan tutup file setelah Anda selesai.
Anda juga dapat memperbarui sertifikat SSL secara manual dengan perintah berikut:
certbot renew --dry-run
Jika Anda mendapatkan kesalahan, maka certbot akan secara otomatis memperbarui sertifikat untuk situs web Anda. Jika perpanjangan otomatis gagal, Anda akan diberi tahu melalui alamat email yang ditentukan.
Kesimpulan
Pada artikel di atas, Anda telah mempelajari cara mengamankan server LEMP dengan Let's Encrypt Free SSL di Ubuntu 18.04. Jika Anda siap untuk memulai dengan server pribadi virtual untuk menghosting situs web Anda, kunjungi halaman Hosting VPS Atlantic.Net untuk menemukan paket hosting yang tepat untuk Anda.