Pengantar
LEMP adalah singkatan dari Linux, Nginx, MySQL, dan PHP. Tutorial ini adalah untuk meng-host WordPress di tumpukan LEMP.
Instal MySQL di Ubuntu 20.04.2 LTS
- Menginstal server MySQL di Ubuntu 20.04.2 LTS. Gunakan manajer paket yang tepat untuk menginstal paket server MySQL.
Instal dengan memperbarui indeks terlebih dahulu di server Anda.
sudo apt updateInstal paket server MySQL
sudo apt install mysql-serverKonfigurasi MySQL
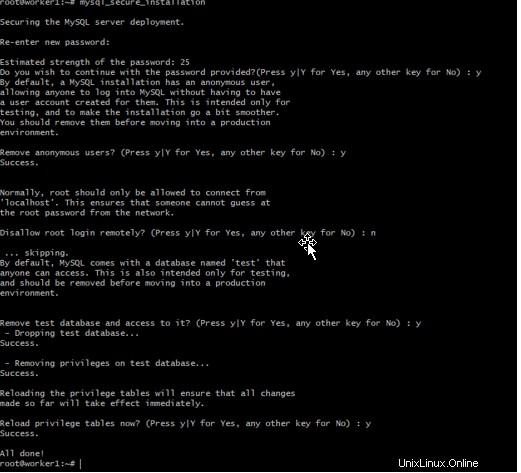
2. Untuk tujuan pengujian kita akan menggunakan skrip mysql_secure_installation. Ini akan mengonfigurasi standar keamanan untuk konfigurasi MySQL. Layanan MySQL harus berjalan.
Jalankan skrip keamanan MySQL
sudo mysql_secure_installation
Buat pengguna MySQL dengan hak istimewa
1 . Buat pengguna hak istimewa untuk WordPress dengan database
mysql -u root -p

mysql> CREATE DATABASE wordpress;
Query OK, 1 row affected (0.00 sec)

mysql> CREATE USER 'wpuser'@'localhost' IDENTIFIED BY 'UN@ixc0p';
Query OK, 0 rows affected (0.01 sec)

mysql> Flush privileges;
Query OK, 0 rows affected (0.00 sec)

mysql> GRANT ALL PRIVILEGES ON wordpress.* TO 'wpuser'@'localhost';
Query OK, 0 rows affected (0.00 sec)

mysql> Flush privileges;
Query OK, 0 rows affected (0.00 sec)

mysql> quit
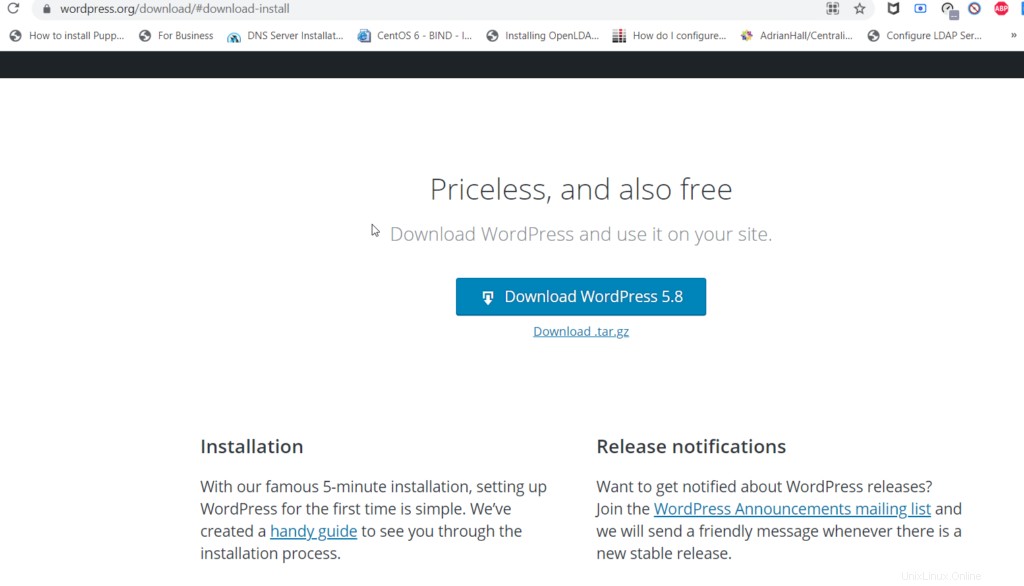
Unduh penginstal WordPress
- Unduh penginstal dari wordpress.org. Tautan

Instal Nginx dan php
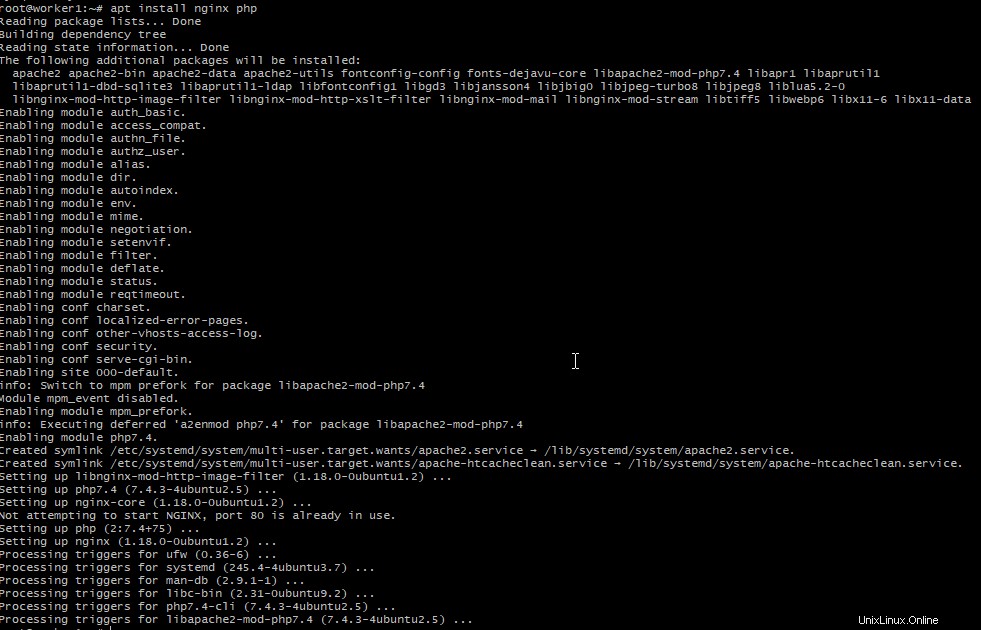
- Instal nginx dan php menggunakan apt
sudo apt install nginx php-fpm php-curl php-gd php-intl php-mbstring php-soap php-xml php-xmlrpc php-zip php-mysqlnd -y
2. Validasi versi PHP
php -v3. Edit info jalur PHP
sudo vi /etc/php/7.4/fpm/php.ini

cgi.fix_pathinfo=0
:wq!
4. Mulai ulang layanan PHP-fpm
systemctl restart php7.4-fpm5. Buat Vhost untuk memetakan aplikasi WordPress baru.
vi /etc/nginx/sites-available/default

server {
        listen 80 default_server;
        listen [::]:80 default_server;

        root /var/www/html;
        server_name worker1.unixcop.com;

        location / {
                # First attempt to serve request as file, then
                try_files $uri $uri/ /index.php$is_args$args;
        }
        location = /favicon.ico { log_not_found off; access_log off; }
        location = /robots.txt { log_not_found off; access_log off; allow all; }
        location ~* \.(css|gif|ico|jpeg|jpg|js|png)$ {
                expires max;
                log_not_found off;
        }
        location ~ \.php$ {
                try_files $uri =404;
                fastcgi_split_path_info ^(.+\.php)(/.+)$;
                fastcgi_pass unix:/var/run/php/php7.4-fpm.sock;
                fastcgi_index index.php;
                fastcgi_param SCRIPT_FILENAME $document_root$fastcgi_script_name;
                include fastcgi_params;
        }
}
Ekstrak aplikasi wordpress yang diunduh
- Ekstrak file yang diunduh dari workpress
tar xzvf latest.tar.gz -C /var/www/html/wordpress2. Salin dan edit wp-config.php
cd /var/www/html/wordpress

cp wp-config-sample.php wp-config.php
3. Ubah kepemilikan file WordPress www-data.
chown -R www-data:www-data /var/www/html/wordpress/4. Sekarang edit dan tambahkan wp-config.php. Tambahkan nama pengguna, kata sandi, dan basis data yang digunakan oleh WordPress.
define('DB_NAME', 'wordpress');

/** MySQL database username */
define('DB_USER', 'wpuser');

/** MySQL database password */
define('DB_PASSWORD', 'UN@ixc0p');

. . .

define('FS_METHOD', 'direct');

:wq!
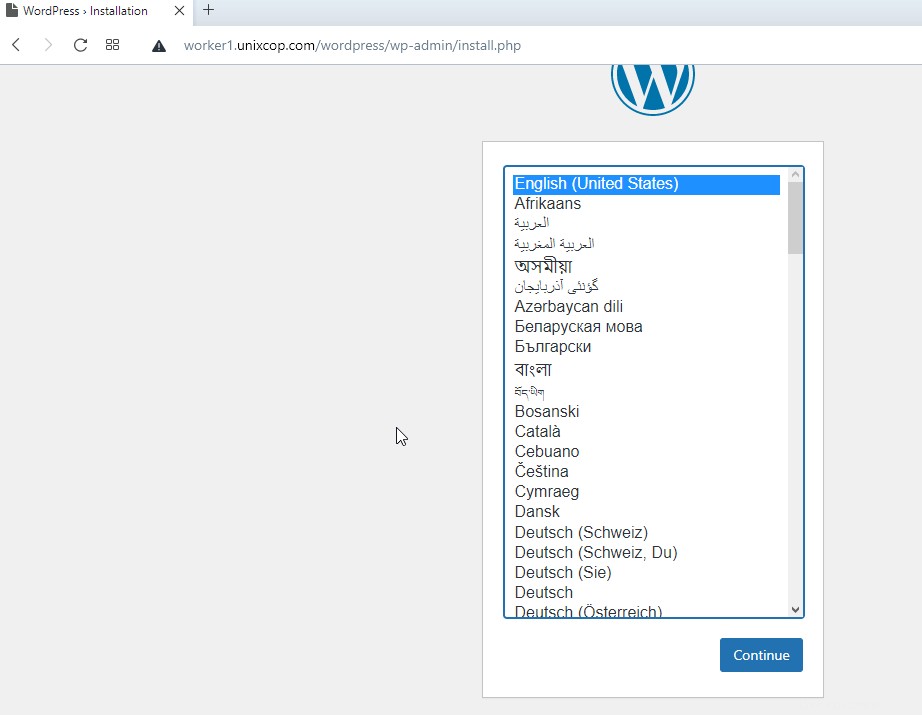
5. Selesaikan instalasi WordPress. Buka browser pilihan dan buka alamat IP server. Dalam kasus saya, saya menggunakan fqdn dari catatan A saya dengan domain unixcop.com.

Sekarang situs WordPress Anda sudah aktif dan berjalan.
