phpMyAdmin adalah alat administrasi berbasis web untuk mengelola server MySQL dan MariaDB. Ini membantu dalam melakukan aktivitas basis data seperti membuat, menghapus, membuat kueri, tabel, kolom, relasi, indeks, pengguna, izin, dll.
Panduan ini akan membantu Anda menginstal phpMyAdmin dengan Apache di CentOS 7 / RHEL 7.
Prasyarat
phpMyAdmin membutuhkan PHP v7.13 atau yang lebih baru dan mendukung MySQL/MariaDB v5.5 atau yang lebih baru.Dalam panduan ini, saya akan menggunakan PHP 7.3 untuk phpMyAdmin.
Instal MySQL / Server MariaDB
Sebelum menginstal phpMyAdmin, instal instance database di sistem Anda untuk terhubung. Anda dapat menginstalnya sebagai database mandiri atau menginstal sebagai bagian dari tumpukan LAMP.
Instal database dan kemudian paket yang diperlukan ditunjukkan di bawah ini.
Basis Data Mandiri
BACA: Cara Menginstal MariaDB di CentOS 7 / RHEL 7
yum install -y https://rpms.remirepo.net/enterprise/remi-release-7.rpm

yum install --enablerepo=remi-php73 -y httpd php php-cli php-mysqlnd
LAMP Stack
BACA: Cara Memasang LAMP Stack di CentOS 7 / RHEL 7
Instal phpMyAdmin
phpMyAdmin tersedia di EPEL. Jadi, instal rpm repositori EPEL untuk mengonfigurasi repositori EPEL di sistem Anda.
rpm -Uvh https://dl.fedoraproject.org/pub/epel/epel-release-latest-7.noarch.rpm
Instal phpMyAdmin menggunakan perintah berikut.
yum install -y --enablerepo=remi-php73 phpmyadmin
Konfigurasi phpMyAdmin
phpMyAdmin menempatkan file konfigurasi di direktori /etc/httpd/conf.d. Ini memiliki aturan dan izin untuk akses.
Secara default, phpMyAdmin hanya dapat diakses dari localhost. Untuk mengakses phpMyadmin dari mesin eksternal, kita harus mengedit file phpMyAdmin.conf.
vi /etc/httpd/conf.d/phpMyAdmin.conf
Di CentOS 7, akses web dikelola oleh modul mod_authz_core.c. Jadi, aturan izinkan atau tolak tidak akan berfungsi meskipun Anda mengubahnya.
Konfigurasi default akan terlihat seperti di bawah ini.
# phpMyAdmin - Web based MySQL browser written in php
#
# Allows only localhost by default
#
# But allowing phpMyAdmin to anyone other than localhost should be considered
# dangerous unless properly secured by SSL

Alias /phpMyAdmin /usr/share/phpMyAdmin
Alias /phpmyadmin /usr/share/phpMyAdmin

<Directory /usr/share/phpMyAdmin/>
     AddDefaultCharset UTF-8
     <IfModule mod_authz_core.c>
         # Apache 2.4
         <RequireAny>
             Require ip 127.0.0.1
             Require ip ::1
         </RequireAny>
     </IfModule>
     <IfModule !mod_authz_core.c>
         # Apache 2.2
         Order Deny,Allow
         Deny from All
         Allow from 127.0.0.1
         Allow from ::1
     </IfModule>
</Directory>

<Directory /usr/share/phpMyAdmin/setup/>
     <IfModule mod_authz_core.c>
        # Apache 2.4
        <RequireAny>
            Require ip 127.0.0.1
            Require ip ::1
       </RequireAny>
     </IfModule>
     <IfModule !mod_authz_core.c>
        # Apache 2.2
        Order Deny,Allow
        Deny from All
        Allow from 127.0.0.1
        Allow from ::1
    </IfModule>
</Directory>
Silakan beri komentar Require ip 127.0.0.1 dan Require ip ::1 lalu tambahkan Require all grant tepat di bawah ke baris komentar. Konten akan terlihat seperti di bawah ini setelah dimodifikasi.
# phpMyAdmin - Web based MySQL browser written in php
#
# Allows only localhost by default
#
# But allowing phpMyAdmin to anyone other than localhost should be considered
# dangerous unless properly secured by SSL

Alias /phpMyAdmin /usr/share/phpMyAdmin
Alias /phpmyadmin /usr/share/phpMyAdmin

<Directory /usr/share/phpMyAdmin/>
     AddDefaultCharset UTF-8
     <IfModule mod_authz_core.c>
         # Apache 2.4
         <RequireAny>
             # Require ip 127.0.0.1
             # Require ip ::1
             Require all granted
         </RequireAny>
     </IfModule>
     <IfModule !mod_authz_core.c>
         # Apache 2.2
         Order Deny,Allow
         Deny from All
         Allow from 127.0.0.1
         Allow from ::1
     </IfModule>
</Directory>

<Directory /usr/share/phpMyAdmin/setup/>
     <IfModule mod_authz_core.c>
        # Apache 2.4
        <RequireAny>
            # Require ip 127.0.0.1
            # Require ip ::1
            Require all granted
       </RequireAny>
     </IfModule>
     <IfModule !mod_authz_core.c>
        # Apache 2.2
        Order Deny,Allow
        Deny from All
        Allow from 127.0.0.1
        Allow from ::1
    </IfModule>
</Directory>
Mulai ulang layanan Apache.
systemctl restart httpd
Firewall
Konfigurasikan firewall untuk mengizinkan permintaan HTTP dari jaringan eksternal.
firewall-cmd --permanent --add-service=http

firewall-cmd --reload
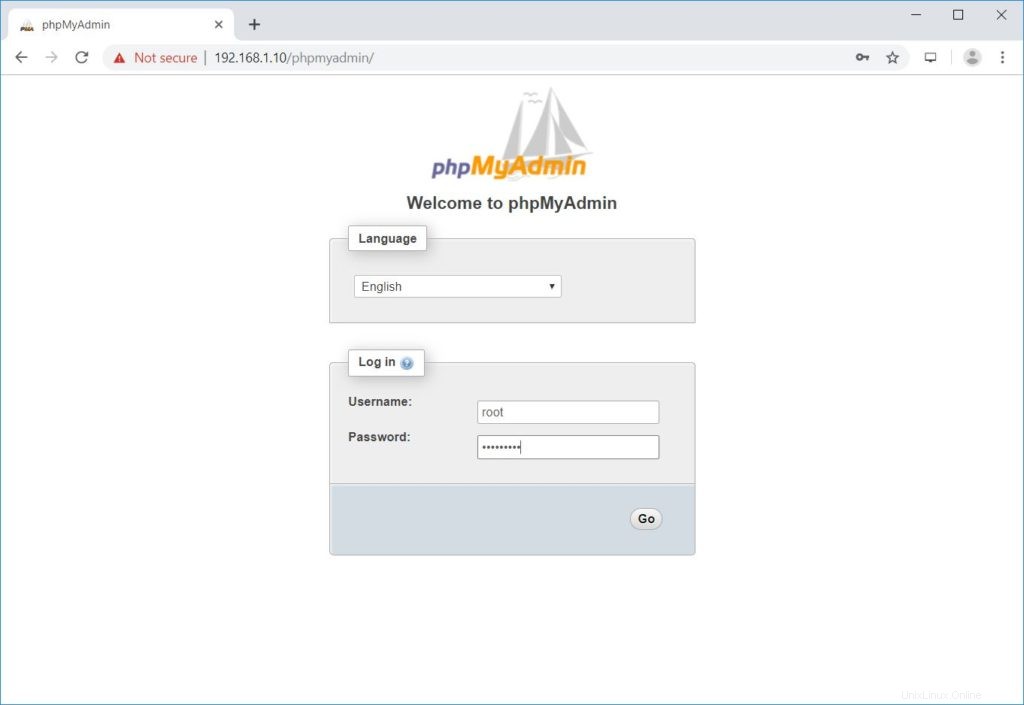
Akses phpMyAdmin
Sekarang akses phpMyAdmin dari browser, URL akan menjadi:
http://localhost/phpMyAdminATAU
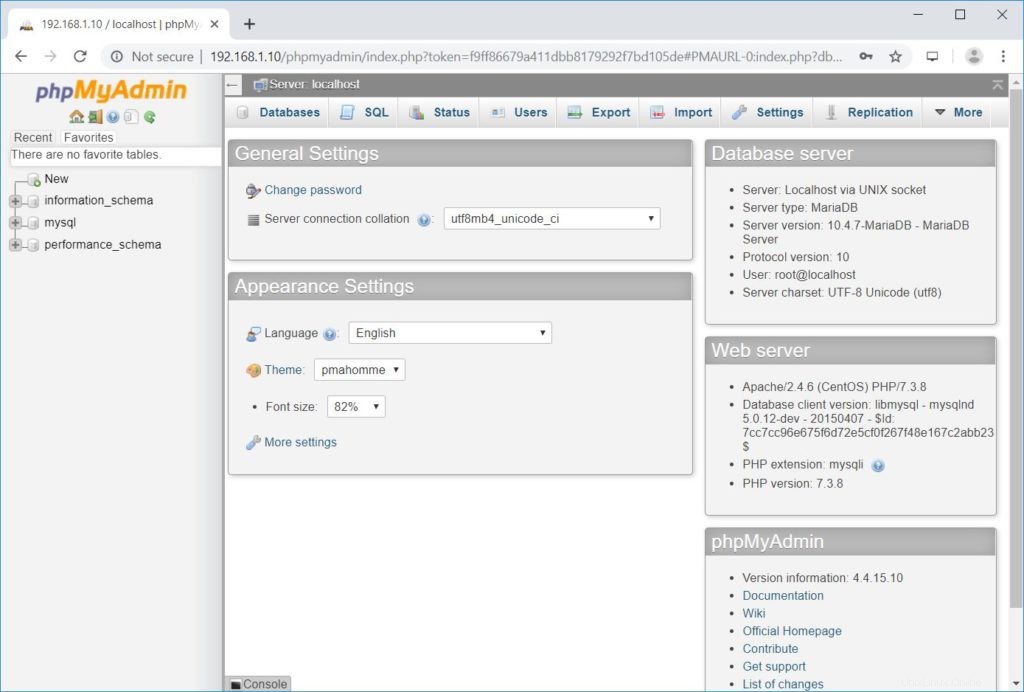
http://alamat-ip-anda/phpMyAdminMasuk dengan root (admin DB) atau pengguna basis data apa pun.
Anda akan mendapatkan halaman database.
Kesimpulan
Itu saja. Saya harap Anda telah mempelajari cara menginstal phpMyAdmin dengan Apache di CentOS 7 / RHEL 7. Silakan bagikan umpan balik Anda di bagian komentar.