Hari ini Anda akan belajar Cara Menginstal FileRun di Ubuntu 20.04
FileRun adalah alternatif Google Drive yang dihosting sendiri. Ini adalah pengelola file berbasis web berfitur lengkap dengan antarmuka pengguna yang mudah digunakan. Sangat bagus untuk mengelola foto, film, koleksi audio, atau berbagi file dengan keluarga dan teman Anda.
FileRun adalah sinkronisasi desktop manajemen file dan berbagi file yang andal dan berkinerja
Ini berjalan dengan baik di server mana pun, termasuk akun hosting atau perangkat kecil seperti Raspberry PiAkses file Anda dari mana saja (desktop, aplikasi seluler, atau browser).
Pemasangan
Cukup ikuti langkah-langkah di bawah ini untuk memulai dengan fileRun
- Perbarui dan tingkatkan paket sistem Anda
sudo apt update && sudo apt upgrade- Instal Server LAMP (tumpukan LAMP).
- Instal modul php sebagai berikut:
sudo apt install php-gd php-json php-mbstring php-mysqli php-xmlrpc php libapache2-mod-php php-common php-mbstring php-xmlrpc php-soap php-gd php-xml php-intl php libapache2-mod-php php-mysql php-mysql wget unzip php-cli php-zip php-curl -y- Anda juga harus menginstal ionCube Modul loader untuk PHP, Anda dapat mengikuti langkah-langkah dalam panduan di bawah ini untuk menginstalnya
Cara Memasang ionCube Loader di Ubuntu
- Instal apache web server dan maria database seperti gambar di bawah ini:
sudo apt install apache2 mariadb-server-10.3 -y- Mulai dan aktifkan apache dan mariadb.
systemctl start apache2 mariadb
systemctl enable apache2 mariadb
systemctl status apache2 mariadb- Konfigurasikan dan amankan MariaDB sebagai berikut:
mysql_secure_installation

NOTE: RUNNING ALL PARTS OF THIS SCRIPT IS RECOMMENDED FOR ALL MariaDB
      SERVERS IN PRODUCTION USE!  PLEASE READ EACH STEP CAREFULLY!

In order to log into MariaDB to secure it, we'll need the current
password for the root user.  If you've just installed MariaDB, and
you haven't set the root password yet, the password will be blank,
so you should just press enter here.

Enter current password for root (enter for none):
OK, successfully used password, moving on...

Setting the root password ensures that nobody can log into the MariaDB
root user without the proper authorisation.

Set root password? [Y/n] y
New password:
Re-enter new password:
Password updated successfully!
Reloading privilege tables..
 ... Success!


By default, a MariaDB installation has an anonymous user, allowing anyone
to log into MariaDB without having to have a user account created for
them.  This is intended only for testing, and to make the installation
go a bit smoother.  You should remove them before moving into a
production environment.

Remove anonymous users? [Y/n] y
 ... Success!

Normally, root should only be allowed to connect from 'localhost'.  This
ensures that someone cannot guess at the root password from the network.

Disallow root login remotely? [Y/n] y
 ... Success!

By default, MariaDB comes with a database named 'test' that anyone can
access.  This is also intended only for testing, and should be removed
before moving into a production environment.

Remove test database and access to it? [Y/n] y
 - Dropping test database...
 ... Success!
 - Removing privileges on test database...
 ... Success!

Reloading the privilege tables will ensure that all changes made so far
will take effect immediately.

Reload privilege tables now? [Y/n] y
 ... Success!

Cleaning up...

All done!  If you've completed all of the above steps, your MariaDB
installation should now be secure.

Thanks for using MariaDB!- Masuk ke shell MariaDB:
mysql -u root -pCREATE DATABASE filerun_db;
CREATE USER 'filerun_user'@'localhost' IDENTIFIED BY 'your_password';
GRANT ALL PRIVILEGES ON `filerun_db`.* TO 'filerun_user'@'localhost';
FLUSH PRIVILEGES;- Unduh versi terbaru filerun dengan perintah berikut:
wget -O FileRun.zip https://filerun.com/download-latest- unzip file yang diunduh menggunakan perintah berikut:
unzip FileRun.zip -d /var/www/html/filerun/- Ubah beberapa izin folder sebagai berikut:
chown -R www-data:www-data /var/www/html/filerun
chmod -R 755 /var/www/html/filerun- Buat file konfigurasi PHP untuk FileRun
vim /etc/php/7.4/apache2/conf.d/filerun.iniKemudian tambahkan konfigurasi berikut:
expose_php = Off
error_reporting = E_ALL & ~E_NOTICE
display_errors = Off
display_startup_errors = Off
log_errors = On
ignore_repeated_errors = Off
allow_url_fopen = On
allow_url_include = Off
variables_order = "GPCS"
allow_webdav_methods = On
memory_limit = 128M
max_execution_time = 300
output_buffering = Off
output_handler = ""
zlib.output_compression = Off
zlib.output_handler = ""
safe_mode = Off
register_globals = Off
magic_quotes_gpc = Off
upload_max_filesize = 20M
post_max_size = 20M
enable_dl = Off
disable_functions = ""
disable_classes = ""
session.save_handler = files
session.use_cookies = 1
session.use_only_cookies = 1
session.auto_start = 0
session.cookie_lifetime = 0
session.cookie_httponly = 1
date.timezone = "UTC"- Simpan dan tutup file.
- Mulai ulang Apache.
sudo systemctl reload apache2Buat juga file konfigurasi host virtual Apache untuk FileRun .
vim /etc/apache2/sites-available/filerun.confKemudian tambahkan virtual host berikut sebagai berikut
<VirtualHost *:80>
        ServerName filerun.unixcop.com.com

        DocumentRoot /var/www/html/filerun

        <Directory "/var/www/html/filerun">
                Options Indexes FollowSymLinks
                AllowOverride All
                Require all granted
        </Directory>

        ErrorLog ${APACHE_LOG_DIR}/filerun.error.log
        CustomLog ${APACHE_LOG_DIR}/filerun.access.log combined
</VirtualHost>- Simpan dan tutup file kemudian restart Apache dengan perintah di bawah ini:
sudo a2ensite filerun.conf
sudo a2enmod rewrite
sudo systemctl restart apache2- Buka port 80 dan 443 di Firewall untuk mengizinkan lalu lintas HTTP dan HTTPS:
sudo ufw allow 80/tcp
sudo ufw allow 443/tcp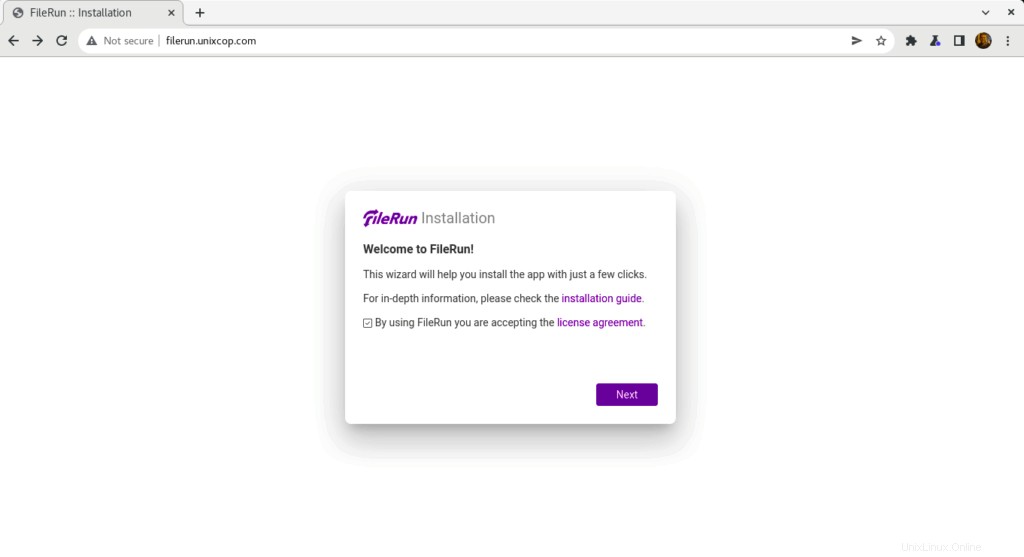
sudo ufw reload- Akses FileRun Antarmuka Web dengan membuka browser web Anda dan mengaksesnya menggunakan URLhttps://filerun.unixcop.com
- Anda akan melihat di bawah ini, Klik Berikutnya untuk memulai FileRun pemasangan
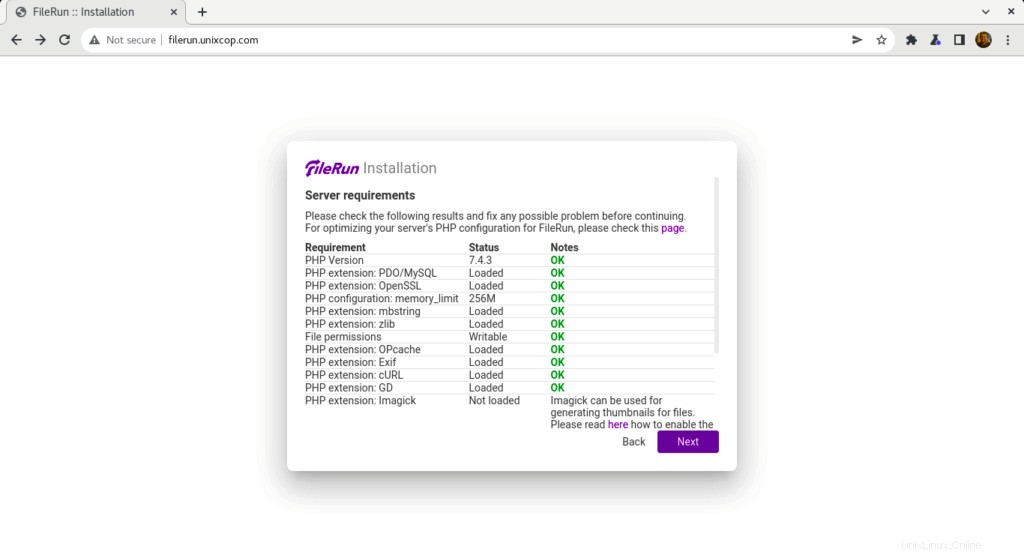
- FileRun akan memeriksa persyaratan server untuk melanjutkan instalasi seperti yang ditunjukkan di bawah ini
- Masukkan informasi Database Connection yang telah kita buat sebelumnya lalu klik Next .

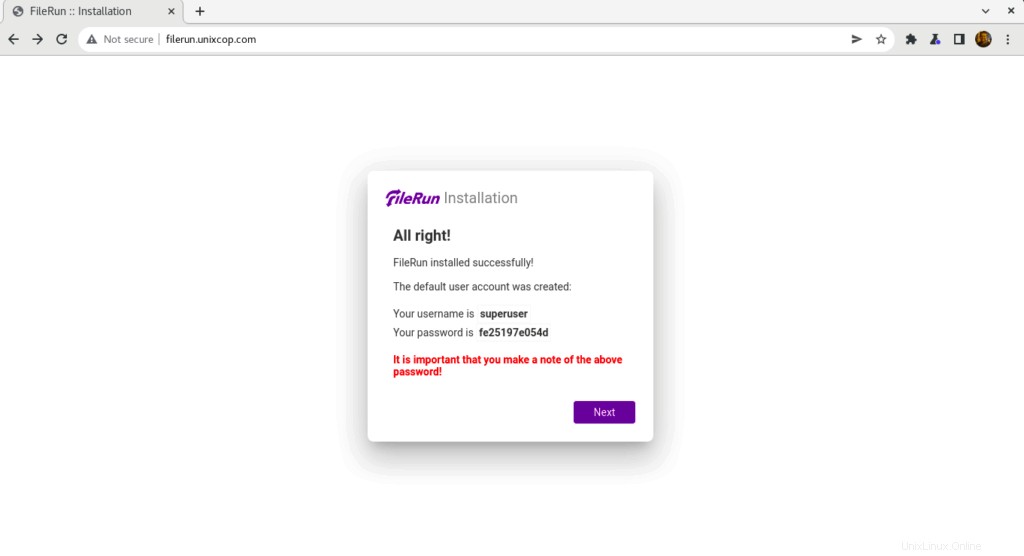
- Pengguna default untuk FileRun telah dibuat dan Anda harus mencatat kredensial ini untuk dapat masuk ke filerun
- Gunakan kredensial seperti yang ditunjukkan di atas pada tangkapan layar untuk masuk ke Filerun seperti yang ditunjukkan di bawah ini
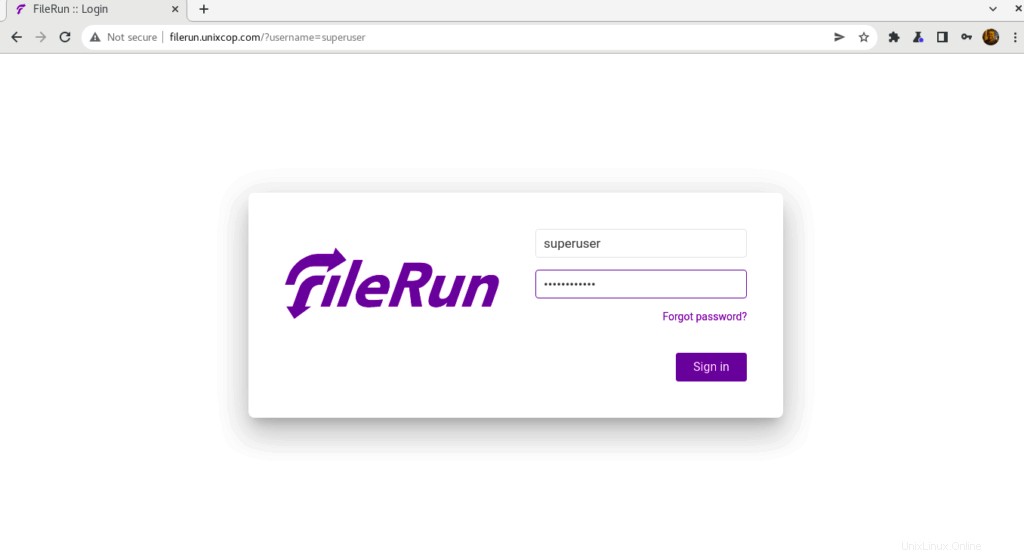
- Anda akan diarahkan ke Dashboard FileRun
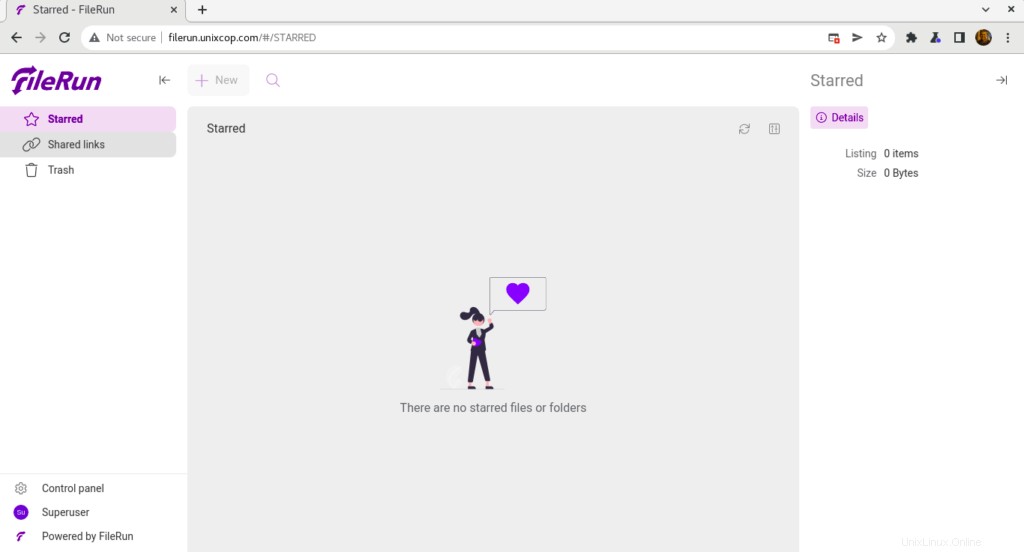
Selamat! Anda telah berhasil menginstal FileRun.
Kesimpulan
Itu dia
Dalam panduan ini, kami menunjukkan cara menginstal FileRun di Ubuntu 20.04
terima kasih