Dalam panduan instalasi ini, kami akan menunjukkan cara menginstal InvoicePlane di sistem Ubuntu
InvoicePlane adalah aplikasi open source yang dihosting sendiri untuk mengelola penawaran, faktur, klien, dan pembayaran Anda.
Ini dirancang khusus untuk pemilik bisnis untuk membuat dan mengelola faktur dan pembayaran klien mereka.
Instal InvoicePlane
Cukup ikuti langkah-langkah di bawah ini:
- Instal Server LAMP.
- Instal modul php.
apt install php-gd php-json php-mbstring php-mysqli php-xmlrpc php libapache2-mod-php php-common php-mbstring php-xmlrpc php-soap php-gd php-xml php-intl php libapache2-mod-php php-mysql php-mysql wget unzip php-cli php-zip php-curl -y- Instal apache web server dan maria database seperti gambar di bawah ini:
apt install apache2
apt install mariadb-server-10.3- Mulai dan aktifkan apache dan mariadb.
systemctl start apache2 mariadb
systemctl enable apache2 mariadb
systemctl status apache2 mariadb- Konfigurasikan dan amankan MariaDB sebagai berikut:
mysql_secure_installation

NOTE: RUNNING ALL PARTS OF THIS SCRIPT IS RECOMMENDED FOR ALL MariaDB
      SERVERS IN PRODUCTION USE!  PLEASE READ EACH STEP CAREFULLY!

In order to log into MariaDB to secure it, we'll need the current
password for the root user.  If you've just installed MariaDB, and
you haven't set the root password yet, the password will be blank,
so you should just press enter here.

Enter current password for root (enter for none):
OK, successfully used password, moving on...

Setting the root password ensures that nobody can log into the MariaDB
root user without the proper authorisation.

Set root password? [Y/n] y
New password:
Re-enter new password:
Password updated successfully!
Reloading privilege tables..
 ... Success!


By default, a MariaDB installation has an anonymous user, allowing anyone
to log into MariaDB without having to have a user account created for
them.  This is intended only for testing, and to make the installation
go a bit smoother.  You should remove them before moving into a
production environment.

Remove anonymous users? [Y/n] y
 ... Success!

Normally, root should only be allowed to connect from 'localhost'.  This
ensures that someone cannot guess at the root password from the network.

Disallow root login remotely? [Y/n] y
 ... Success!

By default, MariaDB comes with a database named 'test' that anyone can
access.  This is also intended only for testing, and should be removed
before moving into a production environment.

Remove test database and access to it? [Y/n] y
 - Dropping test database...
 ... Success!
 - Removing privileges on test database...
 ... Success!

Reloading the privilege tables will ensure that all changes made so far
will take effect immediately.

Reload privilege tables now? [Y/n] y
 ... Success!

Cleaning up...

All done!  If you've completed all of the above steps, your MariaDB
installation should now be secure.

Thanks for using MariaDB!- Masuk ke shell MariaDB:
mysql -u root -pCREATE DATABASE invplane_db;
CREATE USER 'invplane'@'localhost' IDENTIFIED BY 'password';
GRANT ALL PRIVILEGES ON invplane_db.* TO 'invplane'@'localhost';
FLUSH PRIVILEGES;
EXIT- Unduh versi terbaru InvoicePlane dengan perintah berikut:
wget -c -O v1.5.11.zip https://invoiceplane.com/download/v1.5.11- Buka zip file yang diunduh.
mkdir /var/www/html/invoiceplane
unzip v1.5.11.zip -d /var/www/html/invoiceplane- Ubah direktori ke bidang faktur dan salin file yang diperlukan ke direktori root Apache
cd /var/www/html/invoiceplane
sudo cp ipconfig.php.example ipconfig.php
sudo cp htaccess .htaccess- Setel izin yang tepat untuk bidang faktur direktori:
sudo chown -R www-data:www-data /var/www/html/invoiceplane/
sudo chmod -R 755 /var/www/html/invoiceplane/
find /var/www/html/invoiceplane/ -type f -exec chmod -v 0644 '{}' \;- Buat file host virtual Apache untuk InvoicePlane
vim /etc/apache2/sites-available/invoiceplane.conf- Kemudian tambahkan yang berikut
<VirtualHost *:80>
     ServerAdmin [email protected]
     DocumentRoot /var/www/html/invoiceplane
     ServerName example.com

     <Directory /var/www/html/invoiceplane/>
          Options +FollowSymlinks
          AllowOverride All
          Require all granted
     </Directory>

     ErrorLog ${APACHE_LOG_DIR}/error.log
     CustomLog ${APACHE_LOG_DIR}/access.log combined

</VirtualHost>- Aktifkan file host virtual Apache dan modul penulisan ulang
sudo a2ensite invoiceplane.conf
sudo a2enmod rewrite- Mulai ulang layanan Apache untuk menerapkan semua perubahan
systemctl restart apache2- Akses InvoicePlane dengan membuka browser web Anda dan ketik URL http://example.com ATAU http://IP_Address/invoiceplane/index.php/welcome
Anda akan diarahkan sebagai berikut:
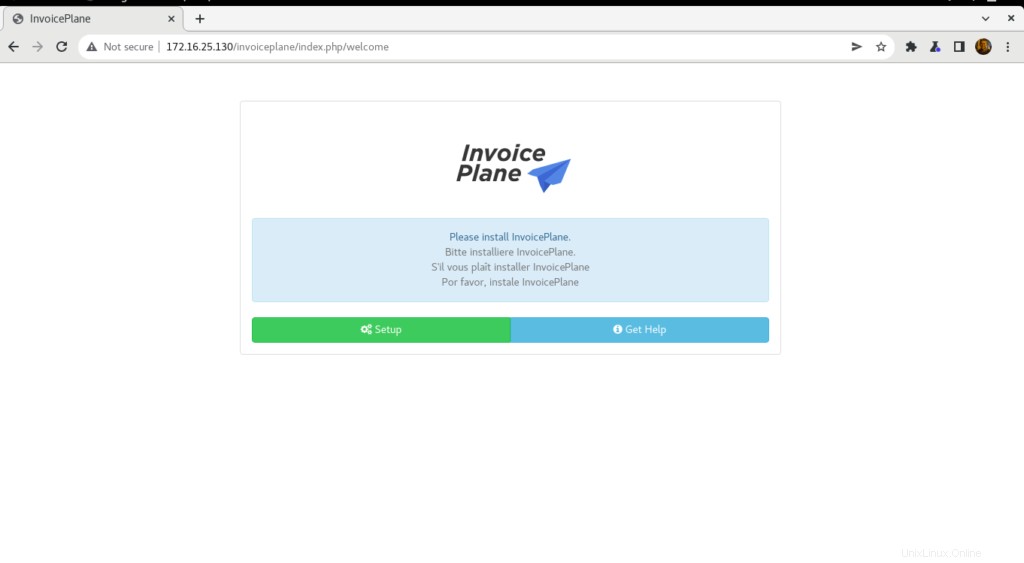
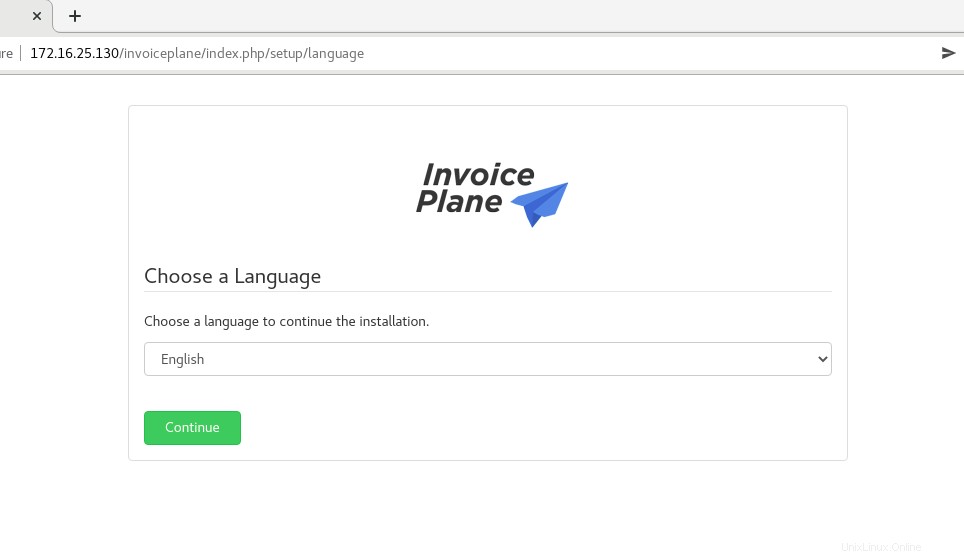
- Klik Penyiapan tombol lalu pilih Bahasa lalu klik Lanjutkan
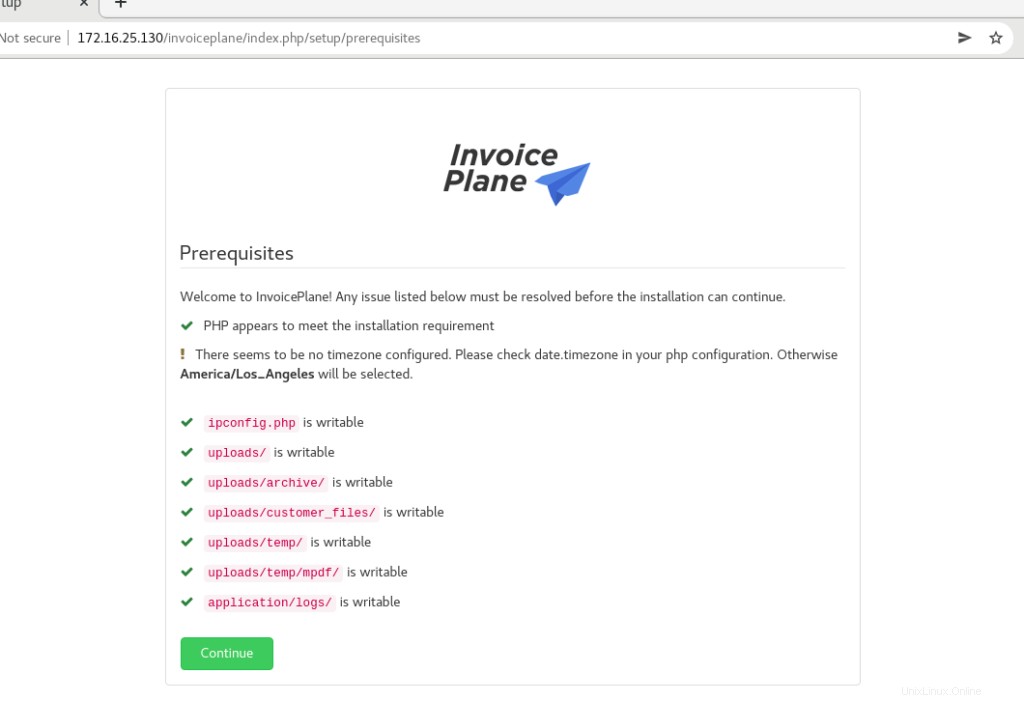
- Kemudian klik Lanjutkan
- Berikan detail basis data Anda dan klik Coba Lagi
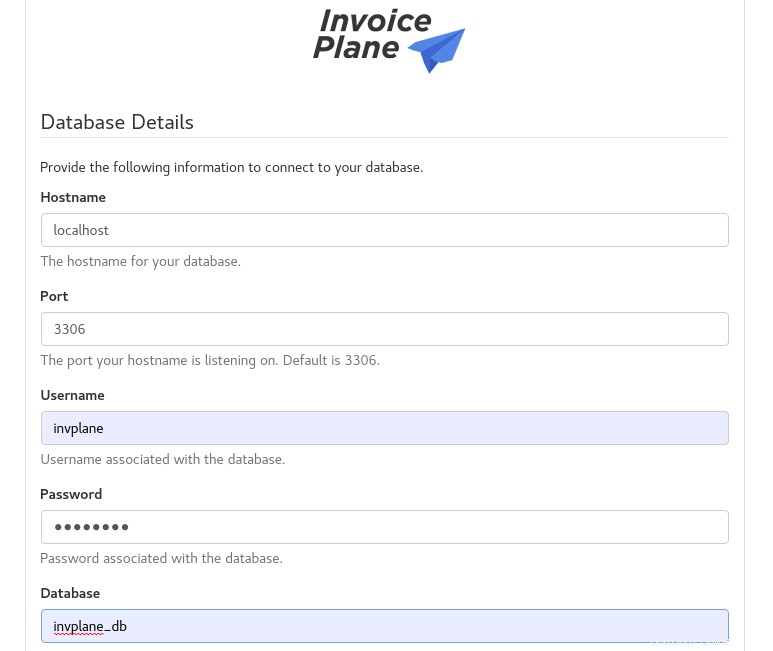
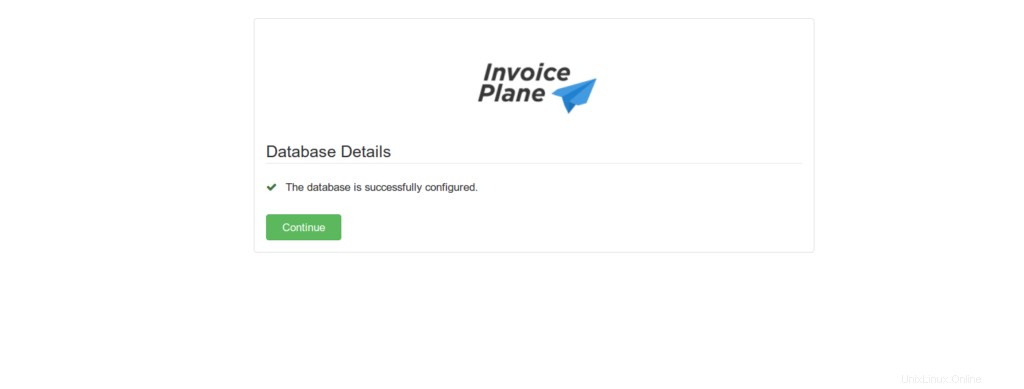
- Database berhasil dikonfigurasi seperti yang ditunjukkan di bawah ini. Klik Lanjutkan
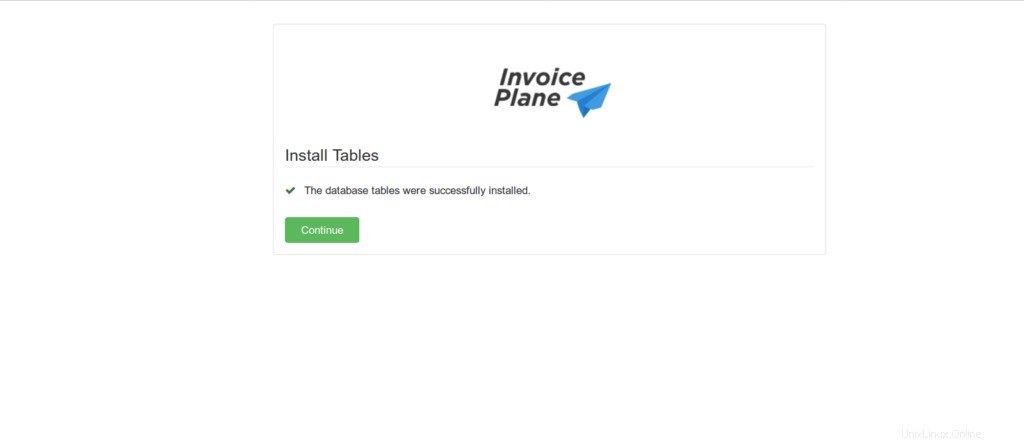
- Klik juga Lanjutkan .
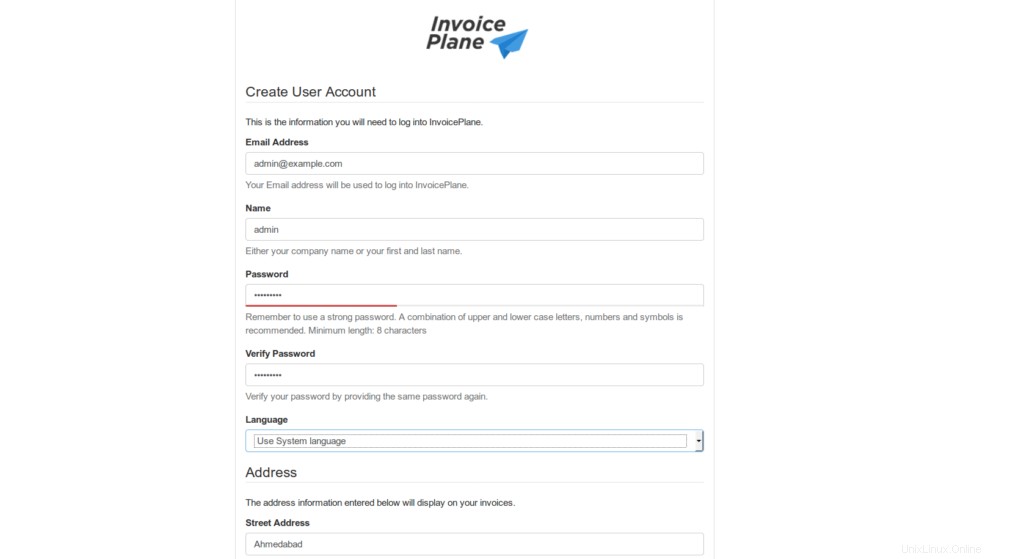
- Berikan semua detail yang diperlukan, lalu klik Lanjutkan seperti yang ditunjukkan di bawah ini.
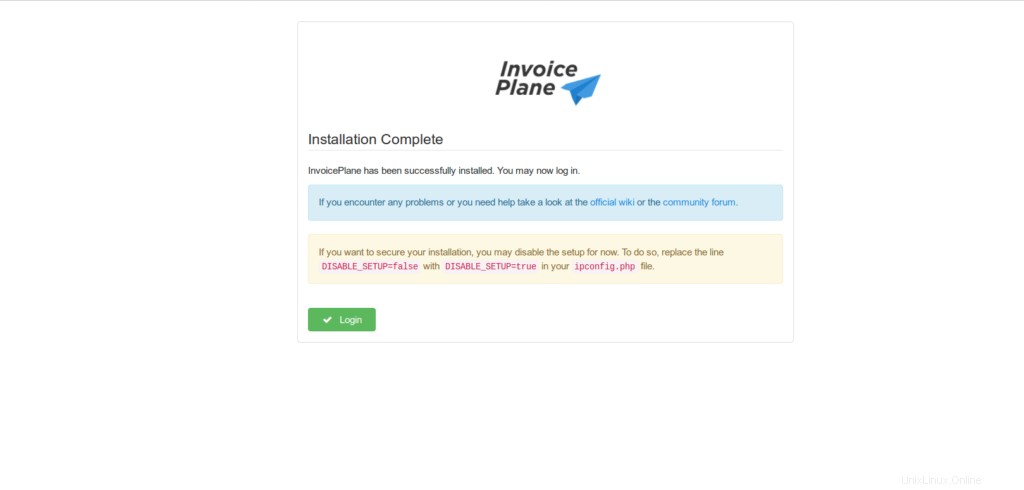
- Instalasi selesai, jadi klik login
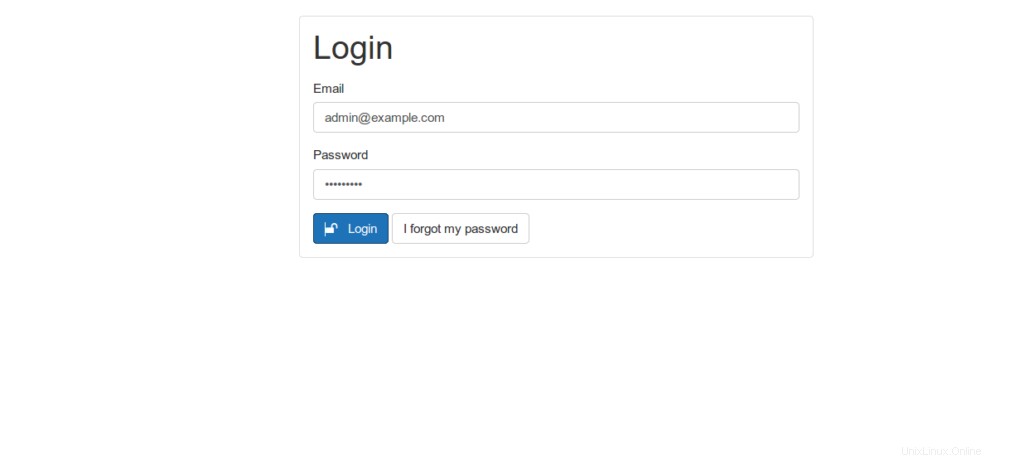
- Masukkan nama pengguna dan sandi admin Anda, lalu klik Masuk
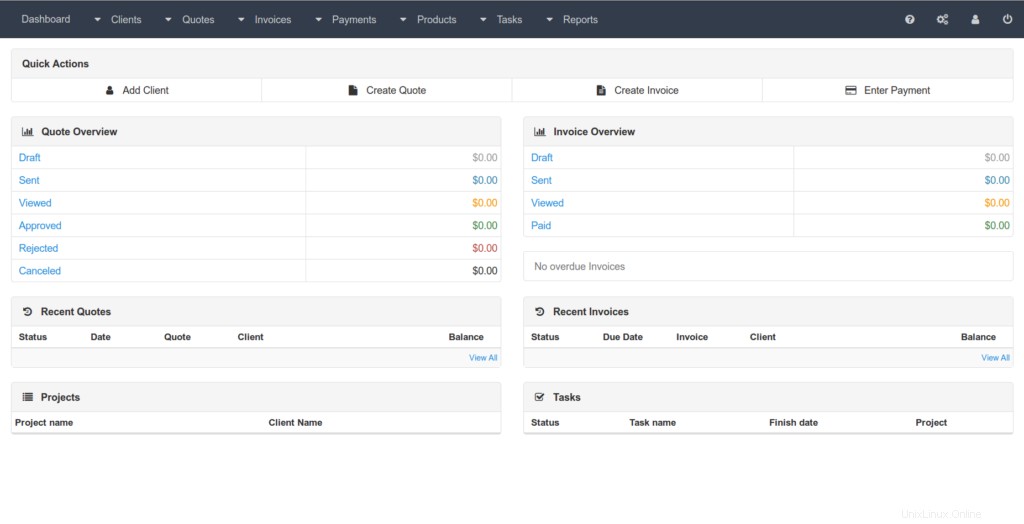
- Anda akan diarahkan ke dasbor InvoicePlane seperti yang ditunjukkan di bawah ini.
Kesimpulan
Itu saja
Dalam artikel ini kami mengilustrasikan cara memasang dan mengonfigurasi Faktur Rencana di Ubuntu 20.04
Terima kasih