WordPress adalah sistem pengelolaan konten (CMS) yang banyak digunakan untuk membuat blog, situs web, portal eCommerce, dan banyak lagi. Itu ditulis dalam bahasa PHP dan menggunakan MariaDB atau MySQL sebagai database.
WordPress mendukung lebih dari 60 juta situs web, termasuk 33% dari 10 juta situs web teratas.
Berikut tutorial cara install WordPress dengan Nginx di CentOS 8 / RHEL 8.
Instal LEMP Stack
Sebelum melanjutkan, siapkan tumpukan LEMP menggunakan tautan di bawah ini.
Instal LEMP Stack (Nginx, MariaDB, dan PHP) di CentOS 8 / RHEL 8
Instal Ekstensi PHP
Ekstensi berikut diperlukan untuk menginstal WordPress di CentOS 8 / RHEL 8.
yum install -y php-mysqlnd php-dom php-simplexml php-xml php-xmlreader php-curl php-exif php-ftp php-gd php-iconv php-json php-mbstring php-posix php-sockets php-tokenizer
Konfigurasi blok Server Nginx untuk WordPress
Mari kita buat blok server untuk instalasi WordPress. File konfigurasi virtual host dapat ditemukan di direktori /etc/nginx/conf.d.
Saya membuat blok server untuk yang berikut,
Nama Domain: www.itzgeek.net
No Port: 80
Akar Dokumen: /sites/www.itzgeek.net/public_html
Log: /sites/www.itzgeek.net/logs
Pertama, buat file host virtual.
vi /etc/nginx/conf.d/www.itzgeek.net.conf
Tempatkan konten berikut.
server {
	listen 80;
	server_name www.itzgeek.net;

	root /sites/www.itzgeek.net/public_html/;

	index index.html index.php;

	access_log /sites/www.itzgeek.net/logs/access.log;
	error_log /sites/www.itzgeek.net/logs/error.log;

	# Don't allow pages to be rendered in an iframe on external domains.
	add_header X-Frame-Options "SAMEORIGIN";

	# MIME sniffing prevention
	add_header X-Content-Type-Options "nosniff";

	# Enable cross-site scripting filter in supported browsers.
	add_header X-Xss-Protection "1; mode=block";

	# Prevent access to hidden files
	location ~* /\.(?!well-known\/) {
		deny all;
	}

	# Prevent access to certain file extensions
	location ~\.(ini|log|conf)$ {
		deny all;
	}

        # Enable WordPress Permananent Links
	location / {
		try_files $uri $uri/ /index.php?$args;
	}

	location ~ \.php$ {
        include /etc/nginx/fastcgi_params;
        fastcgi_pass 127.0.0.1:9000;
        fastcgi_index index.php;
        fastcgi_param SCRIPT_FILENAME $document_root$fastcgi_script_name;
	}

}
Buat direktori root dan log dokumen.
sudo mkdir -p /sites/www.itzgeek.net/public_html/

sudo mkdir -p /sites/www.itzgeek.net/logs/
Verifikasi file konfigurasi.
nginx -t
Output di bawah ini mengkonfirmasi bahwa tidak ada kesalahan sintaks di blok server.
nginx: the configuration file /etc/nginx/nginx.conf syntax is ok
nginx: configuration file /etc/nginx/nginx.conf test is successful
Mulai ulang layanan.
systemctl restart nginx

systemctl restart php-fpm
Jika Anda mendapatkan kesalahan saat memulai ulang layanan Nginx, nonaktifkan SELinux di komputer Anda.
setenforce 0
Instal Let's Encrypt SSL untuk WordPress (Opsional)
Saat ini, hampir semua situs web menggunakan HTTPS (sertifikat SSL) untuk keaslian, keamanan, dan untuk menjaga kerahasiaan komunikasi pengguna. Google meminta pemilik tahun lalu untuk beralih ke HTTPS demi keamanan dan meningkatkan peringkat.
Instal Certbot
Anda perlu menginstal klien Certbot ACME di sistem Anda untuk penerbitan sertifikat dan pemasangan sertifikat tanpa waktu henti.
Klien Certbot tidak tersedia di repositori Red Hat. Jadi, kita perlu mengunduh klien Certbot dari situs resminya.
curl -O https://dl.eff.org/certbot-auto

mv certbot-auto /usr/local/bin/certbot-auto

chmod 0755 /usr/local/bin/certbot-auto
Perbarui / Ubah Catatan DNS
Buka pencatat domain Anda dan buat/perbarui data A/CNAME untuk domain Anda.

Tunggu beberapa saat agar data DNS menyebar dan kemudian lanjutkan untuk menginstal Let's Encrypt SSL.
Instal Let's Encrypt SSL Certificate
Gunakan perintah certbot untuk membuat dan menginstal sertifikat Let's Encrypt.
/usr/local/bin/certbot-auto --nginx
Saat pertama kali dijalankan, klien certbot akan menginstal paket rpm yang diperlukan untuk menyiapkan lingkungan virtual Python guna menghasilkan sertifikat.
Keluaran:
Saving debug log to /var/log/letsencrypt/letsencrypt.log
Plugins selected: Authenticator nginx, Installer nginx
Enter email address (used for urgent renewal and security notices) (Enter 'c' to
cancel): [email protected]  << Enter email id to receive notification

- - - - - - - - - - - - - - - - - - - - - - - - - - - - - - - - - - - - - - - -
Please read the Terms of Service at
https://letsencrypt.org/documents/LE-SA-v1.2-November-15-2017.pdf. You must
agree in order to register with the ACME server at
https://acme-v02.api.letsencrypt.org/directory
- - - - - - - - - - - - - - - - - - - - - - - - - - - - - - - - - - - - - - - -
(A)gree/(C)ancel: A  << Accept Terms of Service

- - - - - - - - - - - - - - - - - - - - - - - - - - - - - - - - - - - - - - - -
Would you be willing to share your email address with the Electronic Frontier
Foundation, a founding partner of the Let's Encrypt project and the non-profit
organization that develops Certbot? We'd like to send you email about our work
encrypting the web, EFF news, campaigns, and ways to support digital freedom.
- - - - - - - - - - - - - - - - - - - - - - - - - - - - - - - - - - - - - - - -
(Y)es/(N)o: Y  << Subscribe to newsletter

Which names would you like to activate HTTPS for?
- - - - - - - - - - - - - - - - - - - - - - - - - - - - - - - - - - - - - - - -
1: www.itzgeek.net
- - - - - - - - - - - - - - - - - - - - - - - - - - - - - - - - - - - - - - - -
Select the appropriate numbers separated by commas and/or spaces, or leave input
blank to select all options shown (Enter 'c' to cancel): 1  << Install SSL certificate for www.itzgeek.net
Obtaining a new certificate
Performing the following challenges:
http-01 challenge for www.itzgeek.net
Waiting for verification...
Cleaning up challenges
Deploying Certificate to VirtualHost /etc/nginx/conf.d/wordpress.conf

Please choose whether or not to redirect HTTP traffic to HTTPS, removing HTTP access.
- - - - - - - - - - - - - - - - - - - - - - - - - - - - - - - - - - - - - - - -
1: No redirect - Make no further changes to the webserver configuration.
2: Redirect - Make all requests redirect to secure HTTPS access. Choose this for
new sites, or if you're confident your site works on HTTPS. You can undo this
change by editing your web server's configuration.
- - - - - - - - - - - - - - - - - - - - - - - - - - - - - - - - - - - - - - - -
Select the appropriate number [1-2] then [enter] (press 'c' to cancel): 2  << Redirect HTTP traffic to HTTPS site
Redirecting all traffic on port 80 to ssl in /etc/nginx/conf.d/wordpress.conf

- - - - - - - - - - - - - - - - - - - - - - - - - - - - - - - - - - - - - - - -
Congratulations! You have successfully enabled https://www.itzgeek.net

You should test your configuration at:
https://www.ssllabs.com/ssltest/analyze.html?d=www.itzgeek.net
- - - - - - - - - - - - - - - - - - - - - - - - - - - - - - - - - - - - - - - -

IMPORTANT NOTES:
 - Congratulations! Your certificate and chain have been saved at:
   /etc/letsencrypt/live/www.itzgeek.net/fullchain.pem
   Your key file has been saved at:
   /etc/letsencrypt/live/www.itzgeek.net/privkey.pem
   Your cert will expire on 2019-12-17. To obtain a new or tweaked
   version of this certificate in the future, simply run certbot-auto
   again with the "certonly" option. To non-interactively renew *all*
   of your certificates, run "certbot-auto renew"
 - Your account credentials have been saved in your Certbot
   configuration directory at /etc/letsencrypt. You should make a
   secure backup of this folder now. This configuration directory will
   also contain certificates and private keys obtained by Certbot so
   making regular backups of this folder is ideal.
 - If you like Certbot, please consider supporting our work by:

   Donating to ISRG / Let's Encrypt:   https://letsencrypt.org/donate
   Donating to EFF:                    https://eff.org/donate-le
Arahkan permintaan HTTP non-www ke www HTTPS dengan Nginx
Kita perlu mengarahkan lalu lintas yang datang untuk situs HTTP non-www ke situs HTTPS www. Untuk situs saya, ini adalah http://itzgeek.net>> https://www.itzgeek.net .
vi /etc/nginx/conf.d/www.itzgeek.net.conf
Tambahkan pengalihan di bawah blok di akhir file.
# Redirect NON-WWW HTTP to WWW HTTPS
server {
    if ($host = itzgeek.net) {
        return 301 https://www.itzgeek.net$request_uri;
    }


   server_name itzgeek.net;
    listen 80;
    return 404;

}
Mulai ulang layanan Nginx.
systemctl restart nginx
Buat Basis Data untuk WordPress
Masuk ke MariaDB.
mysql -u root -p
Buat database yang diinginkan untuk instalasi WordPress.
CREATE DATABASE wordpress;
Buat pengguna.
CREATE USER 'wpuser'@'localhost' IDENTIFIED BY 'wppassword';
Berikan izin penuh kepada pengguna yang dibuat untuk mengakses database WordPress yang baru dibuat.
GRANT ALL PRIVILEGES ON wordpress.* TO 'wpuser'@'localhost';
Keluar dari shell MariaDB.
exit
Unduh WordPress
Unduh WordPress terbaru.
curl -O https://wordpress.org/latest.tar.gz
Ekstrak.
tar -zxvf latest.tar.gz
Pindahkan ke root dokumen kami.
mv wordpress/* /sites/www.itzgeek.net/public_html/
Salin file wp-sample-config.php dan jadikan sebagai file wp-config.php.
cp /sites/www.itzgeek.net/public_html/wp-config-sample.php /sites/www.itzgeek.net/public_html/wp-config.php
Edit file konfigurasi dan perbarui informasi database.
vi /sites/www.itzgeek.net/public_html/wp-config.php
Ubah entri sesuai dengan database, pengguna, dan kata sandi yang dibuat.
// ** MySQL settings - You can get this info from your web host ** //
/** The name of the database for WordPress */
define( 'DB_NAME', 'wordpress' );

/** MySQL database username */
define( 'DB_USER', 'wpuser' );

/** MySQL database password */
define( 'DB_PASSWORD', 'wppassword' );

/** MySQL hostname */
define( 'DB_HOST', 'localhost' );
Jadikan pengguna Nginx sebagai pemilik direktori WordPress.
chown -R apache:apache /sites/www.itzgeek.net/public_html/
Instal WordPress
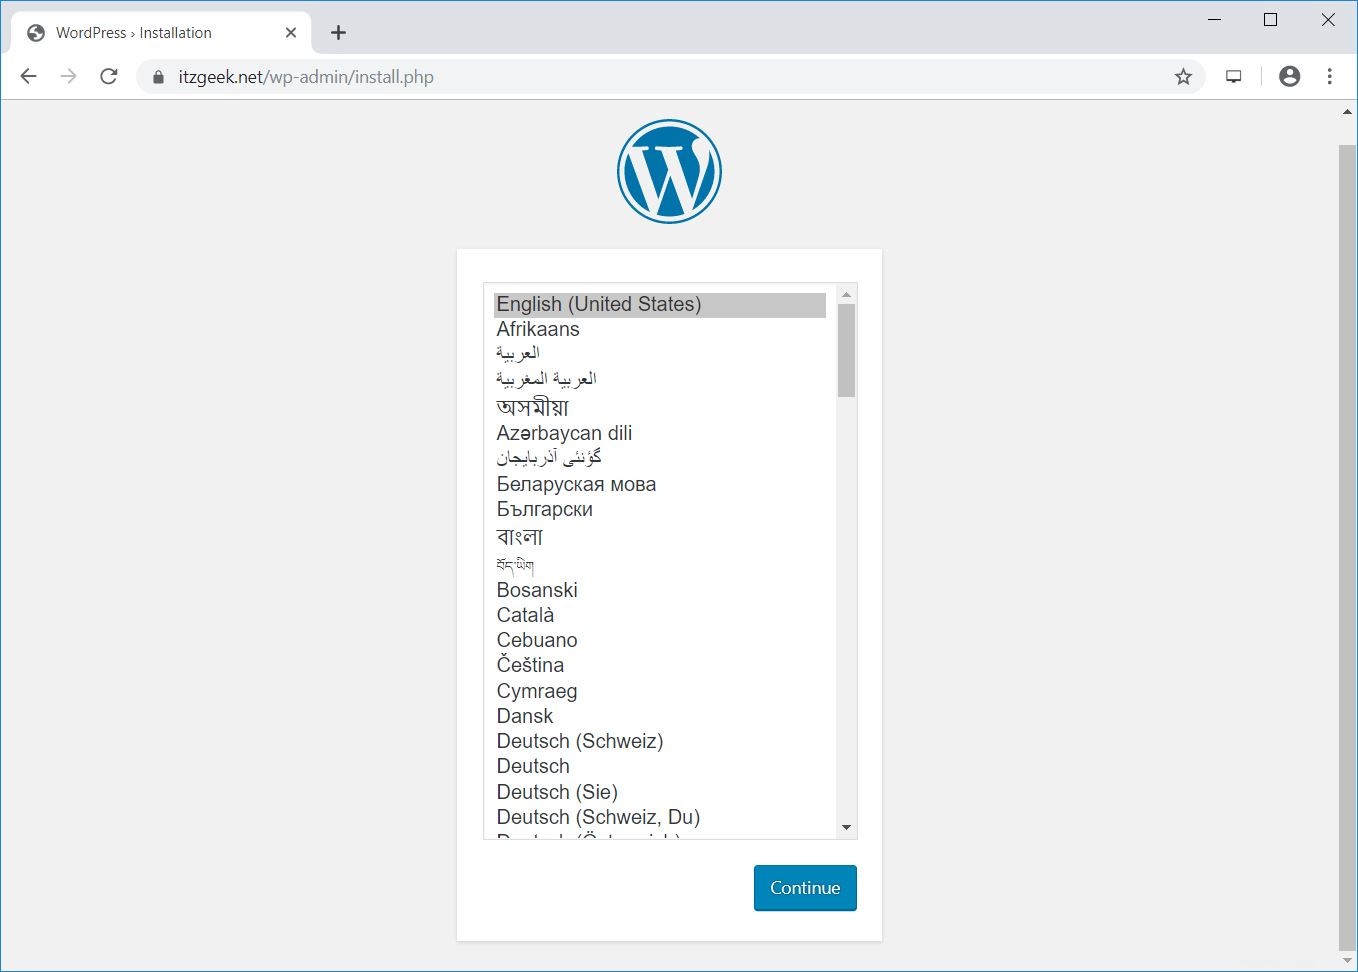
Buka browser Anda dan kunjungi
http://url-situs-web-andaPilih bahasa untuk instalasi WordPress Anda.
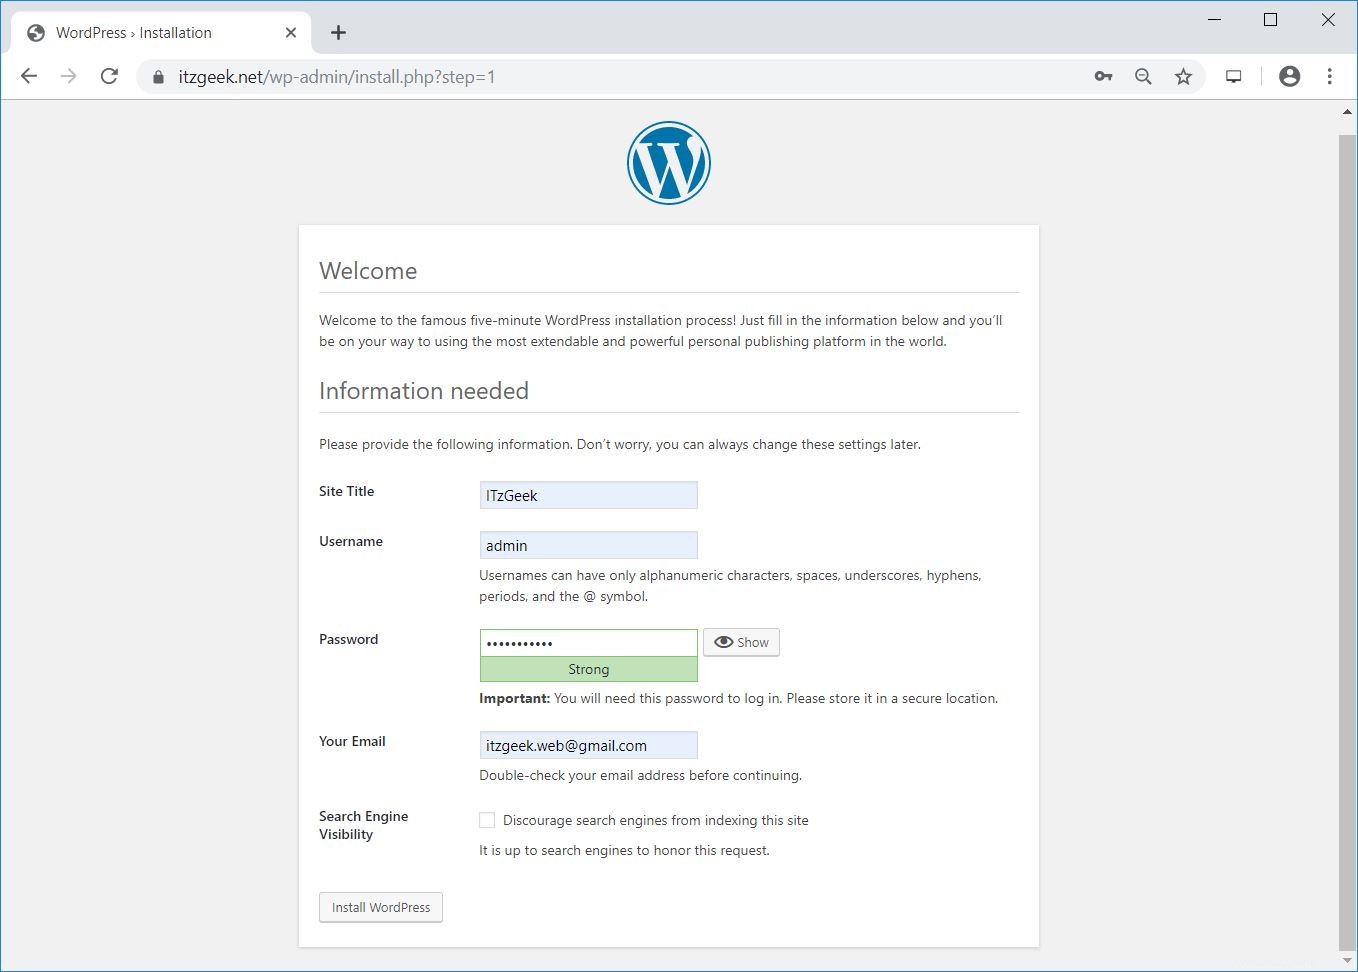
Masukkan informasi situs Anda dan klik Instal WordPress.
Anda akan melihat halaman berikutnya, seperti di bawah ini.
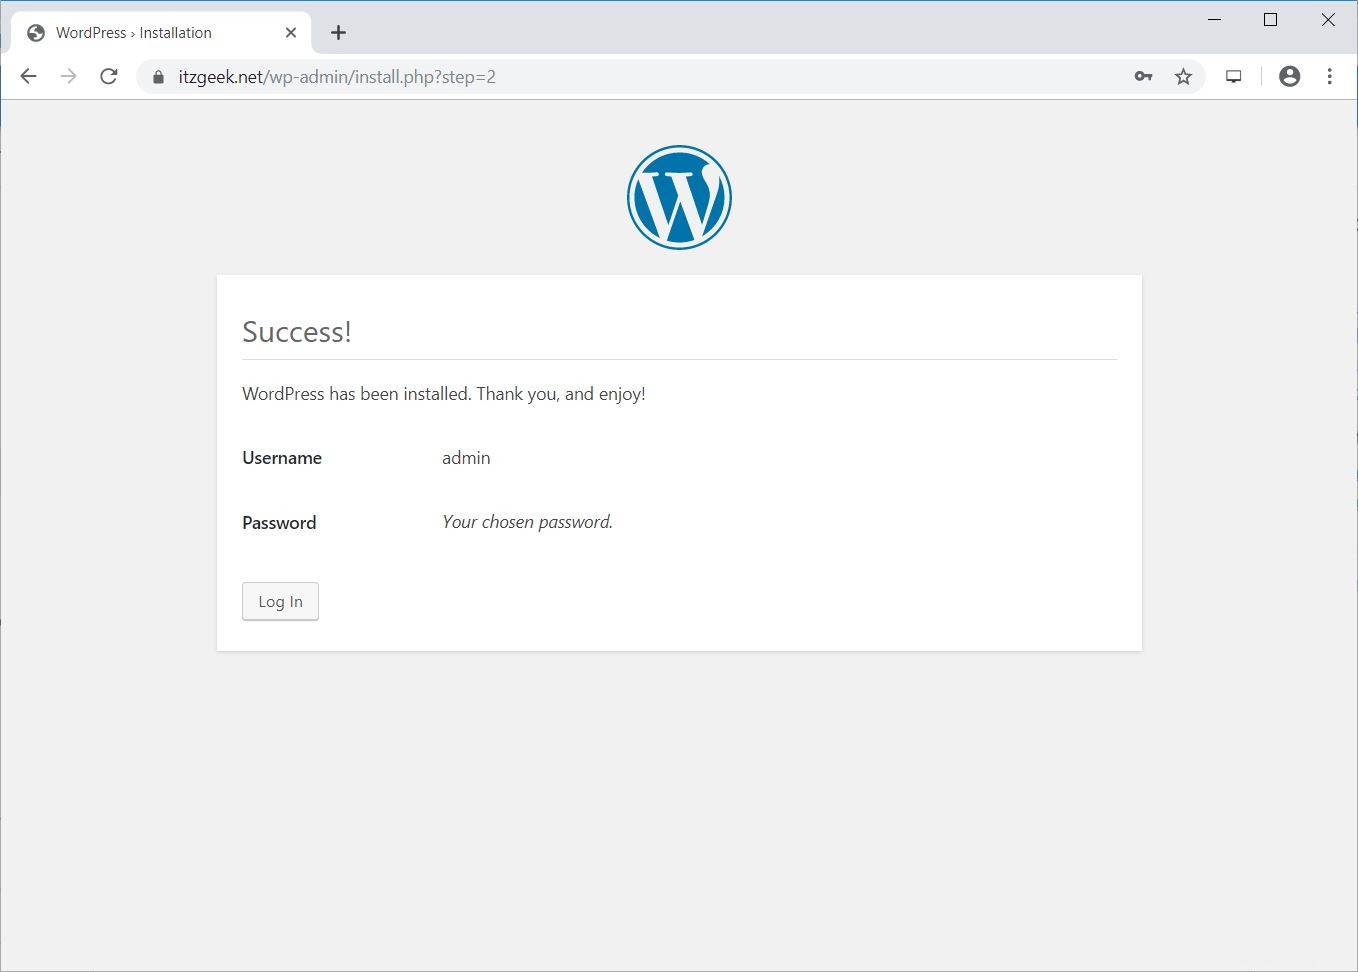
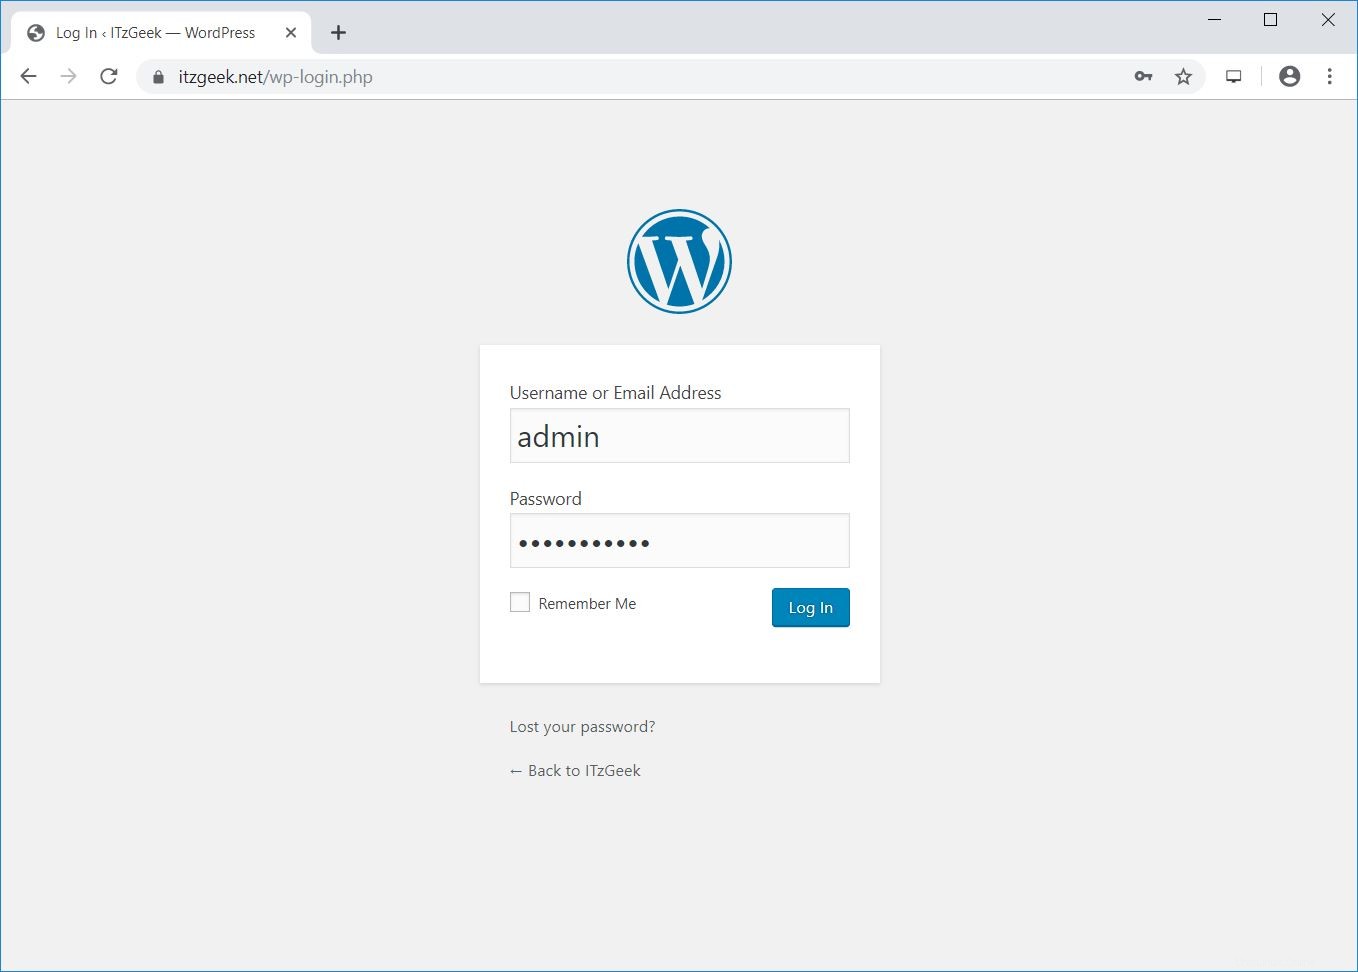
Jika Anda mengklik Login, Anda akan diminta memasukkan kata sandi untuk mengakses Admin WordPress.
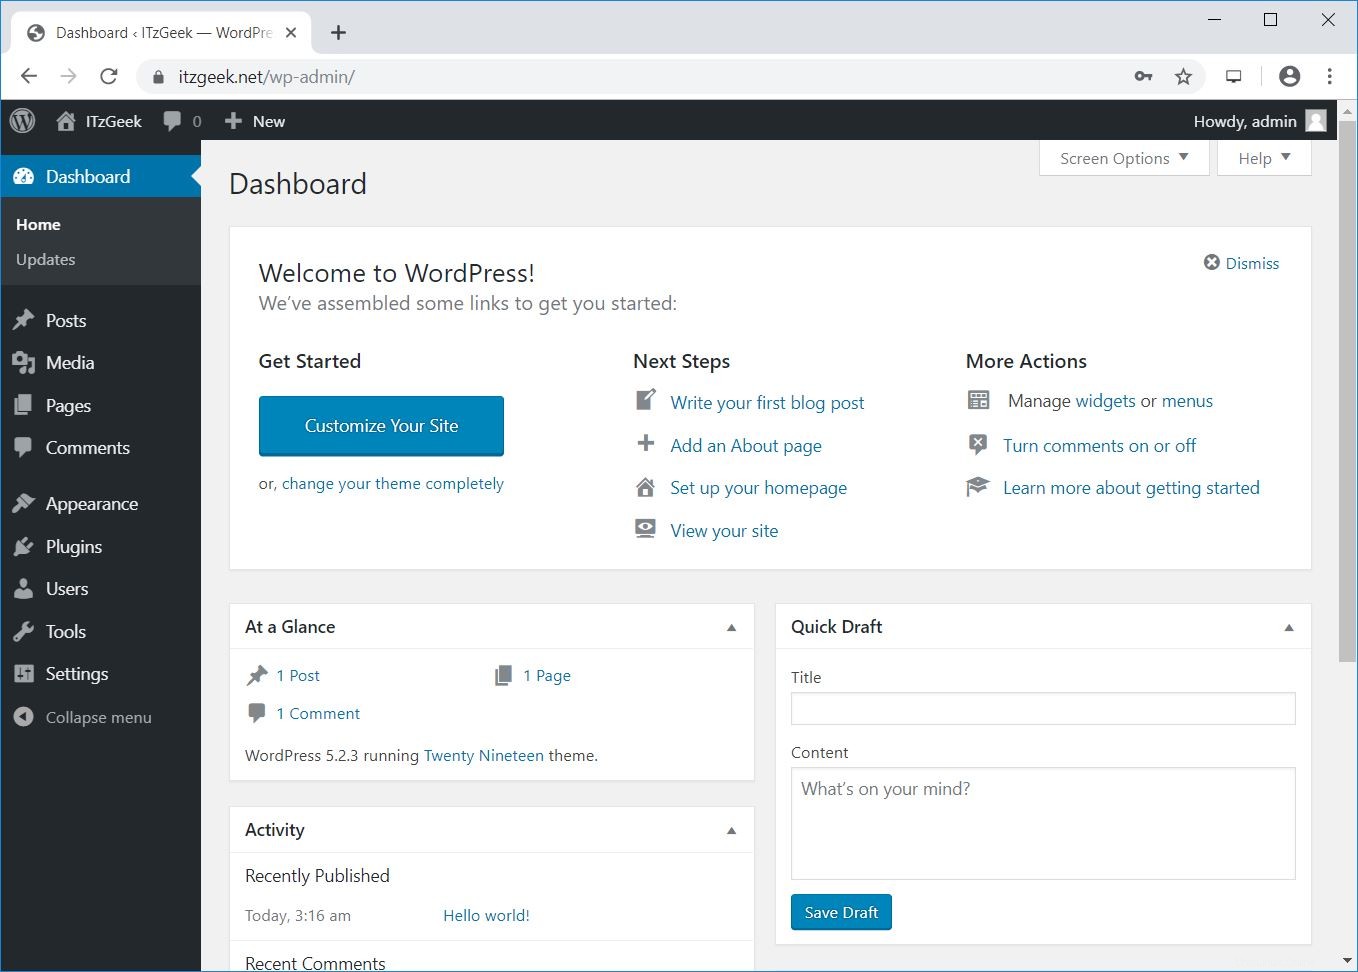
Dasbor Admin WordPress:
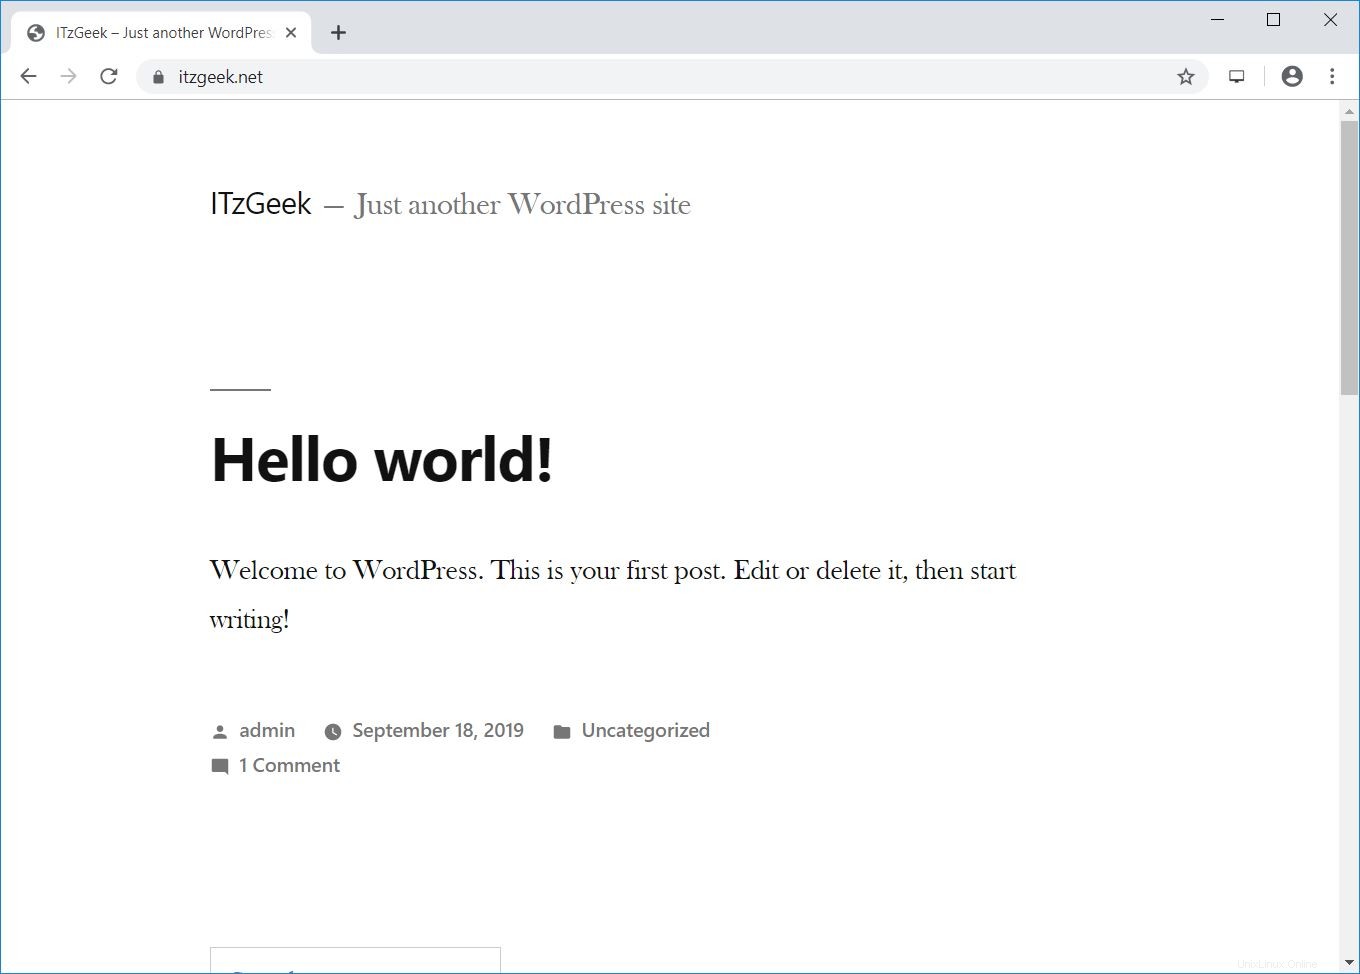
Frontend WordPress:
Beberapa Konfigurasi Ekstra
Konfigurasi Unggahan Ukuran File Maksimum untuk WordPress
Secara default, PHP tidak mengizinkan unggahan file di atas 2MB. Untuk mengizinkan unggahan file yang lebih besar, konfigurasikan setelan upload_max_filesize di php.ini.
vi /etc/php.ini
Ubah ukuran unggah file sesuai kebutuhan Anda
; Maximum allowed size for uploaded files.
; http://php.net/upload-max-filesize
upload_max_filesize = 256M
Mulai ulang layanan php-fpm.
systemctl restart php-fpm
Setel client_max_body_size di Nginx untuk WordPress
Anda mungkin menerima kesalahan di bawah ini meskipun Anda telah mengubah ukuran file unggahan maksimum pada langkah sebelumnya.
2019/09/18 03:37:17 [error] 11773#11773: *121 client intended to send too large body: 9872781 bytes, client: 49.207.143.143, server: www.itzgeek.net, request: "POST /wp-admin/update.php?action=upload-theme HTTP/1.1", host: "www.itzgeek.net", referrer: "https://www.itzgeek.net/wp-admin/theme-install.php?browse=featured"
Tambahkan modul inti client_max_body_size di file konfigurasi Nginx.
vi /etc/nginx/nginx.conf
Arahan dapat ditambahkan ke blok http (untuk semua situs), blok server tertentu, atau dalam konteks lokasi.
Di sini, saya menambahkan arahan ke blok http yang menetapkan nilai untuk semua situs yang berjalan di server ini.
http {
....

    client_max_body_size 256M;

....
}
Juga, kita harus mengubah nilai post_max_size di file php.ini.
vi /etc/php.ini
Ubah ukuran unggahan sesuai kebutuhan Anda.
post_max_size = 256M
Mulai ulang layanan.
systemctl restart php-fpm

systemctl restart nginx
Kesimpulan
Itu saja. Saya harap Anda sekarang dapat menjalankan WordPress Anda dengan Nginx di CentOS 8 / RHEL 8. Silakan bagikan tanggapan Anda di bagian komentar.