LAMP adalah platform pengembangan web sumber terbuka dan gratis yang digunakan untuk meng-host situs web dinamis dan berkinerja tinggi. Ini terdiri dari empat komponen open-source:Linux, Apache, MySQL/MariaDB, dan PHP. LAMP menggunakan Linux sebagai sistem operasi, Apache untuk webserver, MySQL/MariaDB sebagai database dan PHP sebagai bahasa scripting.
Dalam tutorial ini, kami akan menjelaskan cara menginstal LAMP dan mengamankannya dengan Let's Encrypt SSL gratis di Ubuntu 18.04.
Prasyarat
- VPS Ubuntu 18.04 baru di Platform Cloud Atlantic.Net.
- Nama domain yang valid menunjuk ke alamat IP server Anda. Dalam tutorial ini, kita akan menggunakan example.com sebagai domain.
Langkah 1 – Buat Server Cloud Atlantic.Net
Pertama, masuk ke Server Cloud Atlantic.Net Anda. Buat server baru, pilih Ubuntu 18.04 sebagai sistem operasi, dengan setidaknya 2GB RAM. Hubungkan ke Server Cloud Anda melalui SSH dan masuk menggunakan kredensial yang disorot di bagian atas halaman.
Setelah Anda masuk ke server Ubuntu 18.04 Anda, jalankan perintah berikut untuk memperbarui sistem dasar Anda dengan paket terbaru yang tersedia.
apt-get update -y
Langkah 2 – Menginstal Server Web Apache
Pertama, instal server web Apache dengan perintah berikut:
apt-get install apache2 -y
Setelah instalasi selesai, mulai layanan Apache dan aktifkan untuk memulai setelah sistem reboot dengan perintah berikut:
systemctl start apache2
systemctl enable apache2
Selanjutnya, verifikasi server web Apache dengan perintah berikut:
systemctl status apache2
Server web Apache sekarang berjalan dan mendengarkan pada port 80. Buka browser web Anda dan ketikkan URL http://your-server-ip. Anda akan melihat halaman default Apache di layar berikut:
Itu berarti server web Apache berfungsi seperti yang diharapkan.
Langkah 3 – Menginstal Server Database MariaDB
MariaDB adalah garpu paling populer dari sistem manajemen basis data relasional MySQL. Anda dapat menginstalnya dengan menjalankan perintah berikut:
apt-get install mariadb-server mariadb-client -y
Setelah terinstal, mulai layanan MariaDB dan aktifkan untuk memulai setelah sistem reboot dengan perintah berikut:
systemctl start mariadb
systemctl enable mariadb
mysql_secure_installation
Script ini akan mengatur kata sandi root, menghapus pengguna anonim, melarang login root dari jarak jauh, dan menghapus database pengujian dan akses ke sana, seperti yang ditunjukkan di bawah ini:
Enter current password for root (enter for none): Press the Enter key
Set root password? [Y/n]: Y
New password: Enter password
Re-enter new password: Repeat password
Remove anonymous users? [Y/n]: Y
Disallow root login remotely? [Y/n]: Y
Remove test database and access to it? [Y/n]:  Y
Reload privilege tables now? [Y/n]:  Y
Langkah 4 – Menginstal PHP
apt-get install php php-cli php-mysql php-curl php-zip libapache2-mod-php -y
Setelah semua paket terinstal, buka file php.ini Anda dan atur beberapa pengaturan yang diperlukan:
nano /etc/php/7.2/apache2/php.ini
Ubah baris berikut. Nilai di bawah ini adalah pengaturan yang bagus untuk lingkungan LAMP:
memory_limit = 256M
upload_max_filesize = 100M
max_execution_time = 360
date.timezone = America/Chicago
Simpan dan tutup file. Kemudian, restart server web Apache untuk menerapkan konfigurasi.
systemctl restart apache2
Selanjutnya, buat info.php di direktori root dokumen Apache Anda untuk menguji PHP dengan Apache:
nano /var/www/html/info.php
Tambahkan baris berikut:
<?php phpinfo( ); ?>
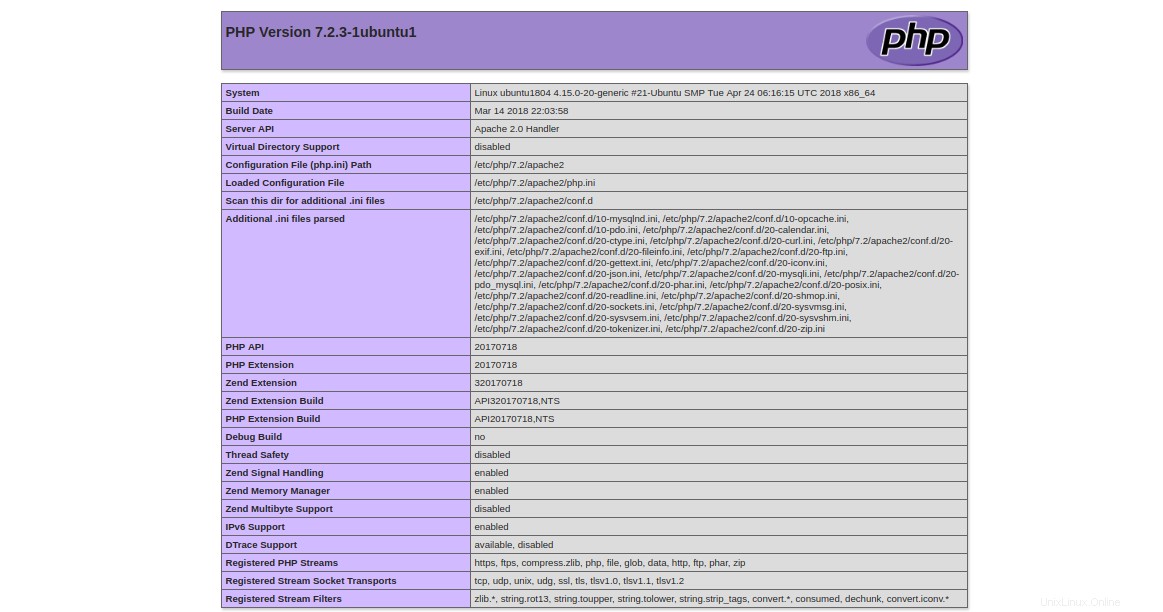
Simpan dan tutup file. Kemudian, buka browser web Anda dan kunjungi URL http://your-server-ip/info.php. Anda akan melihat halaman pengujian PHP default yang digambarkan pada layar berikut.
Setelah pengujian, disarankan untuk menghapus file info.php demi alasan keamanan.
rm -rf /var/www/html/info.php
Langkah 5 – Membuat Virtual Host
Pertama, buat file index.html untuk domain Anda example.com.
mkdir /var/www/html/example.com
nano /var/www/html/example.com/index.html
Tambahkan baris berikut:
<html>
<title>example.com</title>
<h1>Welcome to example.com Website</h1>
<p>This is my LAMP server</p>
</html>
Simpan dan tutup file. Kemudian, ubah kepemilikan direktori example.com dan berikan izin yang diperlukan:
chown -R www-data:www-data /var/www/html/example.com
chmod -R 755 /var/www/html/example.com
Selanjutnya, Anda perlu membuat file konfigurasi host virtual Apache untuk domain Anda, example.com.
nano /etc/apache2/sites-available/example.com.conf
Tambahkan baris berikut:
<VirtualHost *:80>
    ServerAdmin example@unixlinux.online
    ServerName example.com
    DocumentRoot /var/www/html/example.com
    DirectoryIndex index.html
    ErrorLog ${APACHE_LOG_DIR}/example.com_error.log
    CustomLog ${APACHE_LOG_DIR}/example.com_access.log combined
</VirtualHost>
Simpan dan tutup file setelah Anda selesai.
Berikut penjelasan singkat dari masing-masing parameter pada file di atas:
- Admin Server: Tentukan alamat email admin server.
- Nama Server: Nama domain yang terkait dengan alamat IP server Anda.
- DocumentRoot: Tentukan lokasi konten untuk situs web.
- Indeks Direktori: Tentukan halaman default untuk ditampilkan saat direktori diakses.
- Log Kesalahan: Lokasi file log kesalahan.
- Log Kustom: Lokasi file log akses.
Selanjutnya, aktifkan virtual host dan restart layanan web Apache untuk menerapkan konfigurasi:
a2ensite example.com
systemctl restart apache2
Untuk menguji situs web Anda, buka browser web Anda dan ketik URL http://example.com. Anda akan diarahkan ke halaman berikut:
Langkah 6 – Mengamankan Situs Web Anda dengan Let's Encrypt
Pada titik ini situs web Anda berfungsi dengan baik, tetapi tidak aman. Anda perlu mengamankannya dengan Let's Encrypt SSL gratis.
Pertama, Anda perlu menginstal klien Certbot di server Anda. Certbot adalah klien yang mudah digunakan yang dapat digunakan untuk mengunduh sertifikat dari Let's Encrypt dan mengonfigurasi server web Apache untuk menggunakan sertifikat ini.
apt-get install software-properties-common apt-transport-https ca-certificates -y
add-apt-repository ppa:certbot/certbot
Setelah repositori ditambahkan, perbarui repositori dan instal Certbot dengan perintah berikut:
apt-get update -y
apt-get install certbot python-certbot-apache -y
Selanjutnya, jalankan perintah berikut untuk menginstal Let’s Encrypt free SSL for website example.com:
certbot --apache -d example.com
Anda akan diminta untuk memberikan email Anda dan menyetujui persyaratan layanan, seperti yang ditunjukkan di bawah ini:
Saving debug log to /var/log/letsencrypt/letsencrypt.log
Plugins selected: Authenticator apache, Installer apache
Enter email address (used for urgent renewal and security notices) (Enter 'c' to
cancel): example@unixlinux.online

- - - - - - - - - - - - - - - - - - - - - - - - - - - - - - - - - - - - - - - -
Please read the Terms of Service at
https://letsencrypt.org/documents/LE-SA-v1.2-November-15-2017.pdf. You must
agree in order to register with the ACME server at
https://acme-v02.api.letsencrypt.org/directory
- - - - - - - - - - - - - - - - - - - - - - - - - - - - - - - - - - - - - - - -
(A)gree/(C)ancel: A

- - - - - - - - - - - - - - - - - - - - - - - - - - - - - - - - - - - - - - - -
Would you be willing to share your email address with the Electronic Frontier
Foundation, a founding partner of the Let's Encrypt project and the non-profit
organization that develops Certbot? We'd like to send you email about our work
encrypting the web, EFF news, campaigns, and ways to support digital freedom.
- - - - - - - - - - - - - - - - - - - - - - - - - - - - - - - - - - - - - - - -
(Y)es/(N)o: Y
Obtaining a new certificate
Performing the following challenges:
http-01 challenge for example.com
Enabled Apache rewrite module
Waiting for verification...
Cleaning up challenges
Created an SSL vhost at /etc/apache2/sites-available/example.com-le-ssl.conf
Deploying Certificate to VirtualHost /etc/apache2/sites-available/example.com-le-ssl.conf
Enabling available site: /etc/apache2/sites-available/example.com-le-ssl.conf

Please choose whether or not to redirect HTTP traffic to HTTPS, removing HTTP access.
- - - - - - - - - - - - - - - - - - - - - - - - - - - - - - - - - - - - - - - -
1: No redirect - Make no further changes to the webserver configuration.
2: Redirect - Make all requests redirect to secure HTTPS access. Choose this for
new sites, or if you're confident your site works on HTTPS. You can undo this
change by editing your web server's configuration.
- - - - - - - - - - - - - - - - - - - - - - - - - - - - - - - - - - - - - - - -
Select the appropriate number [1-2] then [enter] (press 'c' to cancel): 2
Selanjutnya, pilih opsi 2 dan tekan enter untuk mengunduh sertifikat Let's Encrypt dan konfigurasikan server web Apache untuk menggunakan sertifikat ini. Setelah proses instalasi selesai, Anda akan melihat output berikut:
Enabled Apache rewrite module
Redirecting vhost in /etc/apache2/sites-enabled/example.com.conf to ssl vhost in /etc/apache2/sites-available/example.com-le-ssl.conf

- - - - - - - - - - - - - - - - - - - - - - - - - - - - - - - - - - - - - - - -
Congratulations! You have successfully enabled https://example.com

You should test your configuration at:
https://www.ssllabs.com/ssltest/analyze.html?d=example.com
- - - - - - - - - - - - - - - - - - - - - - - - - - - - - - - - - - - - - - - -

IMPORTANT NOTES:
 - Congratulations! Your certificate and chain have been saved at:
   /etc/letsencrypt/live/example.com/fullchain.pem
   Your key file has been saved at:
   /etc/letsencrypt/live/example.com/privkey.pem
   Your cert will expire on 2019-10-22. To obtain a new or tweaked
   version of this certificate in the future, simply run certbot again
   with the "certonly" option. To non-interactively renew *all* of
   your certificates, run "certbot renew"
 - Your account credentials have been saved in your Certbot
   configuration directory at /etc/letsencrypt. You should make a
   secure backup of this folder now. This configuration directory will
   also contain certificates and private keys obtained by Certbot so
   making regular backups of this folder is ideal.
 - If you like Certbot, please consider supporting our work by:

   Donating to ISRG / Let's Encrypt:   https://letsencrypt.org/donate
   Donating to EFF:                    https://eff.org/donate-le
Sekarang, buka browser web Anda dan akses situs web Anda dengan aman dengan URL https://example.com.
Kesimpulan
Dalam tutorial di atas, kami belajar cara menginstal server LAMP di Ubuntu 18.04 VPS. Kami juga mempelajari cara mengamankan server LAMP dengan Let's Encrypt SSL gratis. Sekarang Anda dapat dengan mudah menginstal server LAMP dan mengamankannya dengan Let's Encrypt SSL gratis di Ubuntu 18.04 menggunakan layanan VPS Hosting kami.