Vtiger adalah CRM open source yang mencakup inventaris, email, manajemen proyek, dan alat lain yang menyediakan rangkaian manajemen bisnis lengkap. Dengan menggunakan vTiger CRM, Anda dapat memastikan dukungan premium, manajemen penjualan, dan agar tim pemasaran bekerja dengan lancar guna meningkatkan pertumbuhan bisnis dan meningkatkan pengalaman pelanggan.
Beberapa fitur teratas dari vTiger CRM termasuk namun tidak terbatas pada:
- Mendukung otomatisasi menggunakan portal pelanggan dan tiket dukungan.
- Memiliki kontrol akses berbasis peran.
- Menyediakan manajemen siklus penjualan ujung ke ujung dari kampanye, prospek, potensi, penawaran, faktur.
- Memberikan Anda plugin Outlook, Thunderbird, Firefox, &Gmail.
- Alur kerja, tugas, dan manajemen proyek.
- Mendukung impor &ekspor Data melalui file CSV, formulir web-to-lead, laporan &dasbor pengguna yang dapat disesuaikan.
Server web Apache, PHP, dan server database MariaDB diperlukan untuk penginstalan vTiger CRM dan berfungsi dengan baik.
Instal PHP:
Gunakan perintah berikut untuk menginstal PHP.
dnf -y install yum-utils
dnf -y install https://dl.fedoraproject.org/pub/epel/epel-release-latest-8.noarch.rpm
dnf -y install https://rpms.remirepo.net/enterprise/remi-release-8.rpm
dnf module reset php
dnf module -y install php:remi-7.4
dnf -y install vim php php-{pear,cli,cgi,common,curl,mbstring,gd,mysqlnd,gettext,bcmath,json,xml,fpm,intl,zip,imap,ldap,soap,xmlrpc}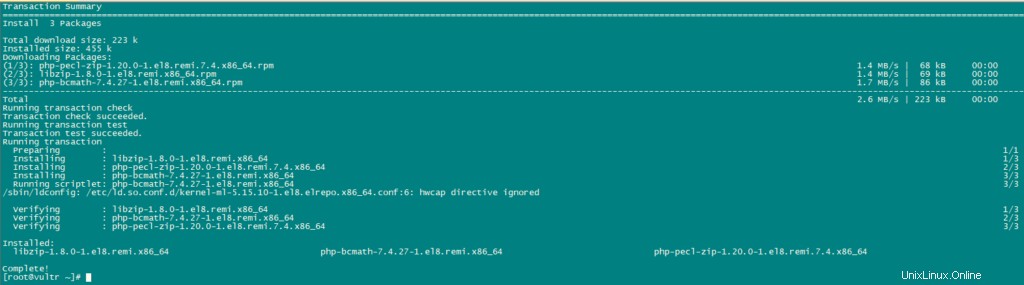
Sekarang, Konfigurasikan PHP.
nano /etc/php.iniGanti nilai saat ini dari variabel berikut dengan nilai yang disebutkan:
date.timezone = Africa/Nairobi
memory_limit = 256M
upload_max_filesize = 64M
display_errors = On
log_errors = Off
Instal MariaDB dan Buat Basis Data:
vTiger CRM membutuhkan penyimpanan database untuk datanya. Kami akan menggunakan mariaDB sebagai databasenya.
Instal mariaDB menggunakan perintah berikut:
dnf install mariadb-serverGunakan perintah berikut untuk konfigurasi MariaDB.
mysql_secure_installationatur konfigurasi seperti di bawah ini:
NOTE: RUNNING ALL PARTS OF THIS SCRIPT IS RECOMMENDED FOR ALL MariaDB
      SERVERS IN PRODUCTION USE!  PLEASE READ EACH STEP CAREFULLY!

In order to log into MariaDB to secure it, we'll need the current
password for the root user.  If you've just installed MariaDB, and
you haven't set the root password yet, the password will be blank,
so you should just press enter here.

Enter current password for root (enter for none):
OK, successfully used password, moving on...

Setting the root password ensures that nobody can log into the MariaDB
root user without the proper authorisation.

Set root password? [Y/n] y
New password:
Re-enter new password:
Password updated successfully!
Reloading privilege tables..
 ... Success!


By default, a MariaDB installation has an anonymous user, allowing anyone
to log into MariaDB without having to have a user account created for
them.  This is intended only for testing, and to make the installation
go a bit smoother.  You should remove them before moving into a
production environment.

Remove anonymous users? [Y/n] y
 ... Success!

Normally, root should only be allowed to connect from 'localhost'.  This
ensures that someone cannot guess at the root password from the network.

Disallow root login remotely? [Y/n] y
 ... Success!

By default, MariaDB comes with a database named 'test' that anyone can
access.  This is also intended only for testing, and should be removed
before moving into a production environment.

Remove test database and access to it? [Y/n] y
 - Dropping test database...
 ... Success!
 - Removing privileges on test database...
 ... Success!

Reloading the privilege tables will ensure that all changes made so far
will take effect immediately.

Reload privilege tables now? [Y/n] y
 ... Success!

Cleaning up...

All done!  If you've completed all of the above steps, your MariaDB
installation should now be secure.

Thanks for using MariaDB!
Sekarang atur Mode SQL sebagai berikut:
nano /etc/my.cnf.d/server.cnf

[mysqld]
sql_mode = ERROR_FOR_DIVISION_BY_ZERO,NO_AUTO_CREATE_USER,NO_ENGINE_SUBSTITUTION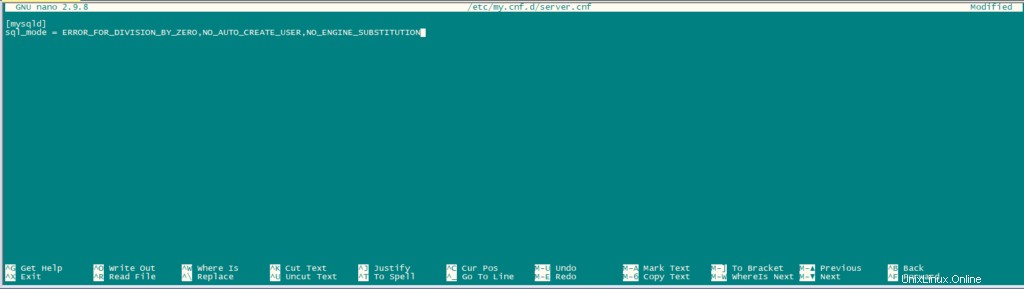
Mulai ulang MariaDB.
systemctl restart mariadb.serviceSetelah server database terinstal, login ke MariaDB cli sebagai pengguna root dan buat Database untuk vTiger CRM.
mysql -u root -pBuat database dan user sebagai berikut:
CREATE USER 'vtiger'@'localhost' IDENTIFIED BY 'w';
CREATE DATABASE vtiger CHARACTER SET utf8 COLLATE utf8_general_ci;
GRANT ALL PRIVILEGES ON vtiger.* TO 'vtiger'@'localhost';
FLUSH PRIVILEGES;
QUIT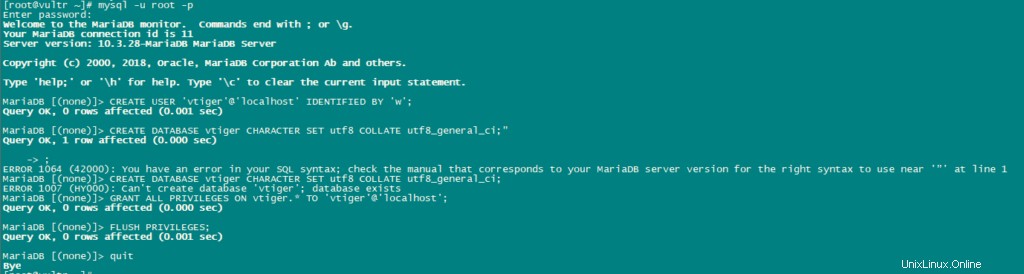
Unduh Vtiger:
Unduh vTiger versi terbaru.
dnf -y install wget
wget https://sourceforge.net/projects/vtigercrm/files/vtiger%20CRM%207.2.0/Core%20Product/vtigercrm7.2.0.tar.g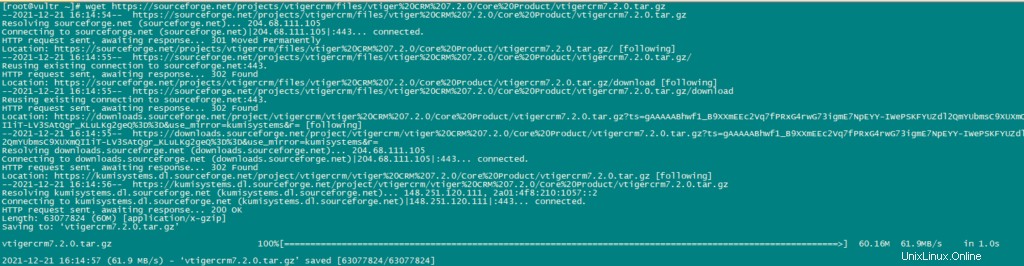
Ekstrak file tar.
tar xvf vtigercrm7.2.0.tar.gzInstal server Apache httpd:
dnf -y install httpdPindahkan folder vTiger dengan isinya ke /var/www/html.
mv vtigercrm /var/www/html/Konfigurasi Apache:
atur izin direktori yang tepat menggunakan perintah berikut:
chown -R apache:apache /var/www/html/vtigercrmSekarang buat file Virtual Host untuk vTiger:
nano /etc/httpd/conf.d/vtigercrm.confTambahkan konten berikut ke dalam file.
<VirtualHost *:80>
     ServerAdmin lab1.unixcop.com
     ServerName lab1.unixcop.com
     ServerAlias lab1.unixcop.com
     DocumentRoot /var/www/html/vtigercrm/

     <Directory /var/www/html/vtigercrm/>
        Options +FollowSymlinks
        AllowOverride All
        Require all granted
     </Directory>

     ErrorLog /var/log/httpd/vtigercrm_error.log
     CustomLog /var/log/httpd/vtigercrm_access.log combined
</VirtualHost>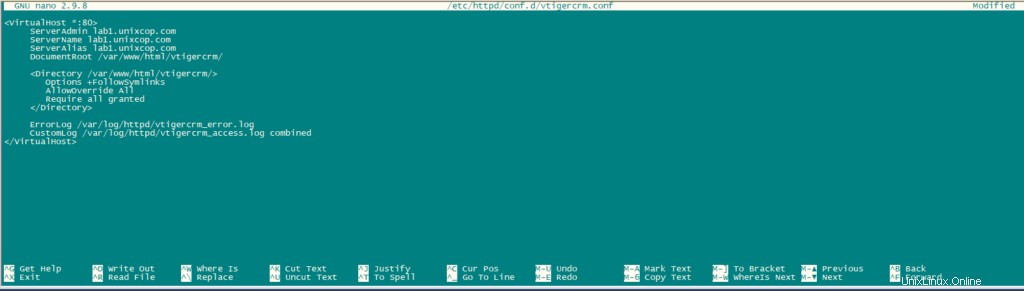
Verifikasi sintaks file di atas menggunakan perintah berikut:
apachectl -tMulai ulang layanan httpd.
systemctl restart httpdBuka port http di firewall menggunakan perintah berikut:
firewall-cmd --add-service=http --permanent
firewall-cmd --reload
Nonaktifkan SELinux jika tidak dinonaktifkan.
sudo setenforce 0
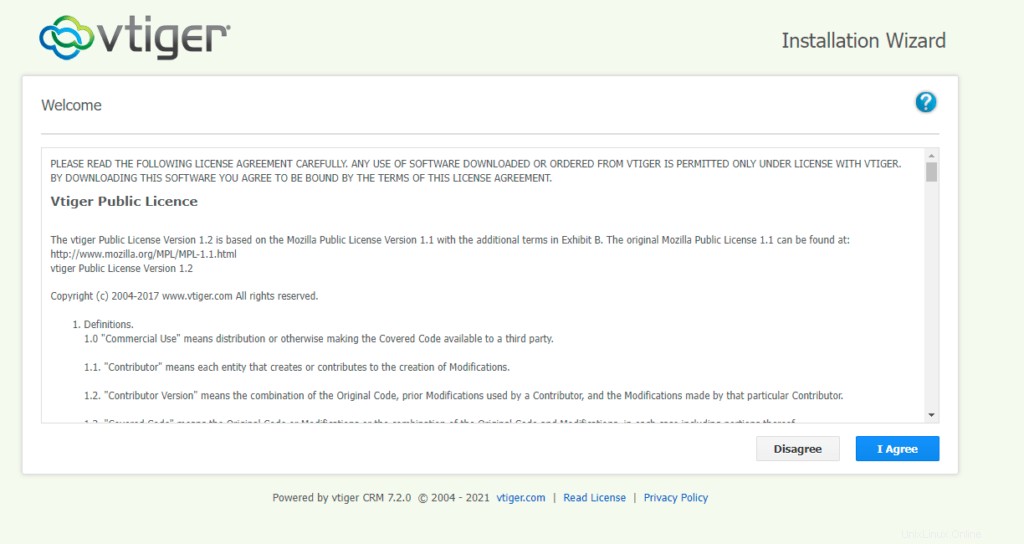
sudo sed -i 's/^SELINUX=.*/SELINUX=disabled/g' /etc/selinux/configSelesaikan penginstalan dengan membuka http://Your_IPAddress di browser Anda. Halaman pertama yang muncul adalah Wizard Instalasi.
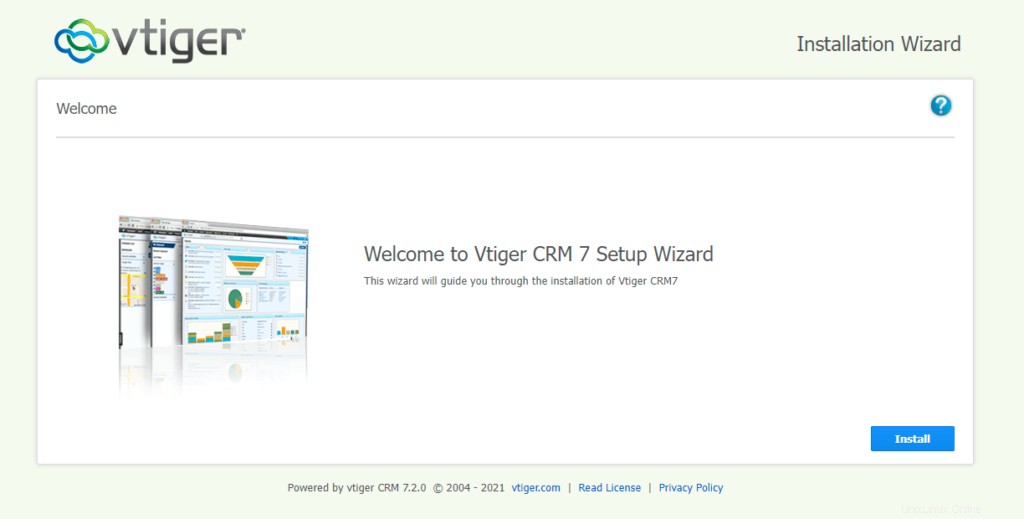
Klik Instal dan kemudian Klik “Saya Setuju”
Sekarang verifikasi konfigurasi seperti yang disebutkan pada gambar di bawah ini dan klik Next.

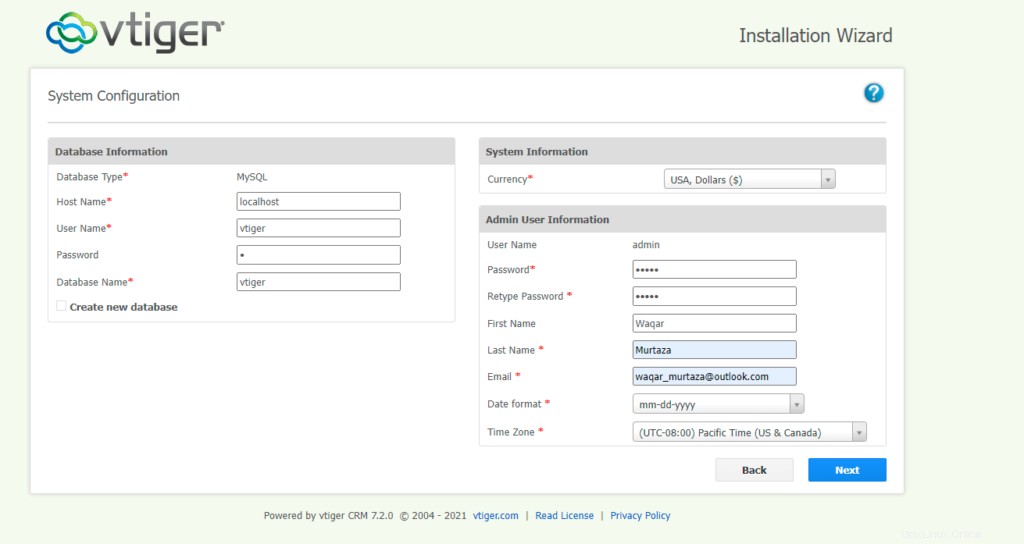
Berikan detail Database seperti yang terlihat pada gambar di bawah dan atur kata sandi dan berikan detail yang diminta.
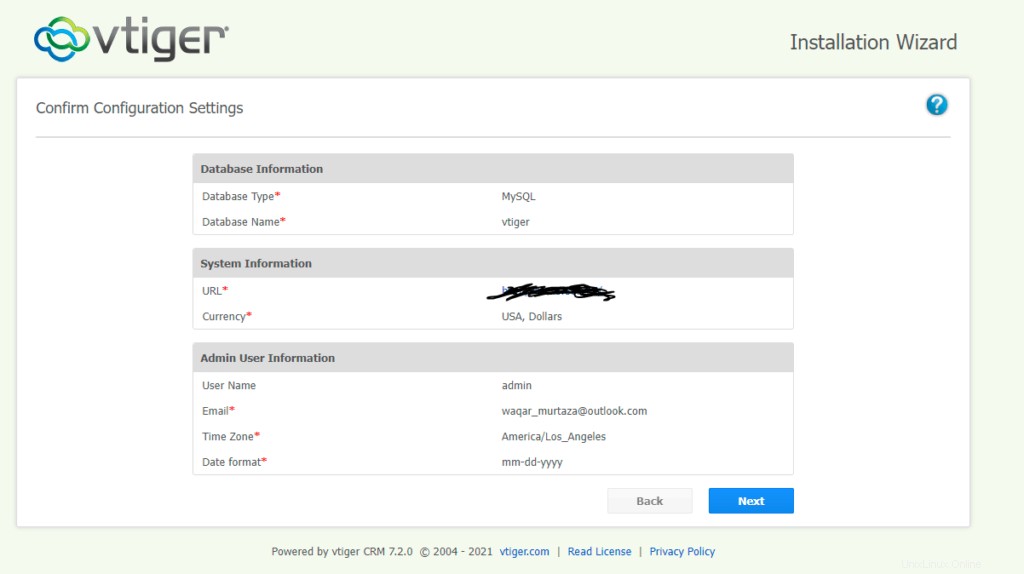
Konfirmasikan pengaturan dan klik berikutnya.
Konfirmasi Industri Anda dan klik Berikutnya.
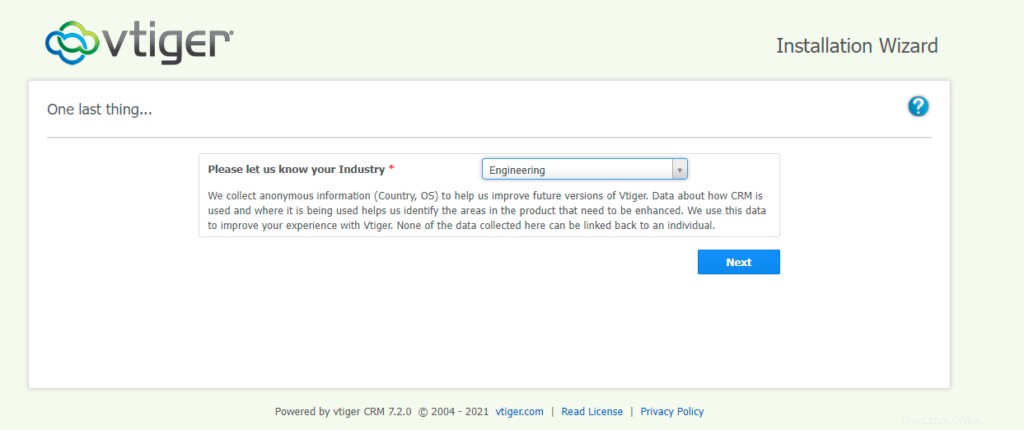
Kemudian tunggu penginstalan selesai.
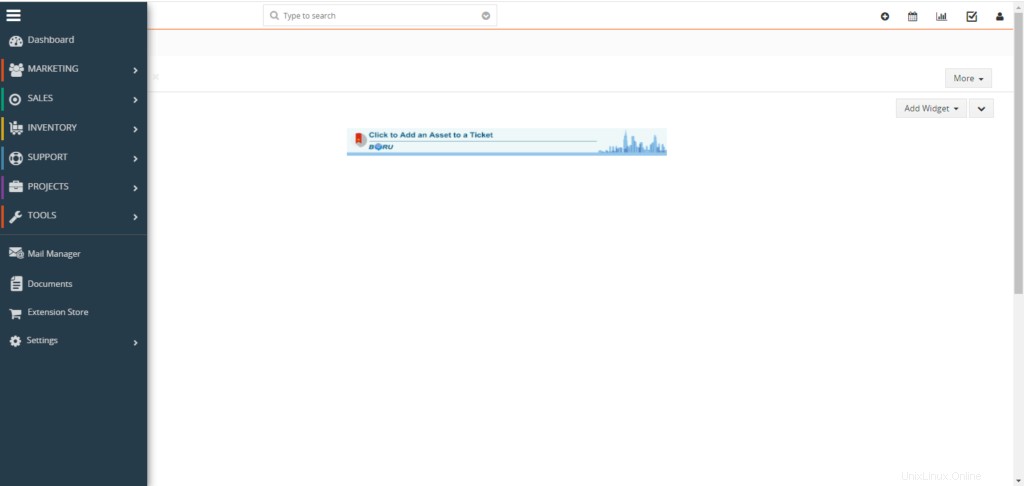
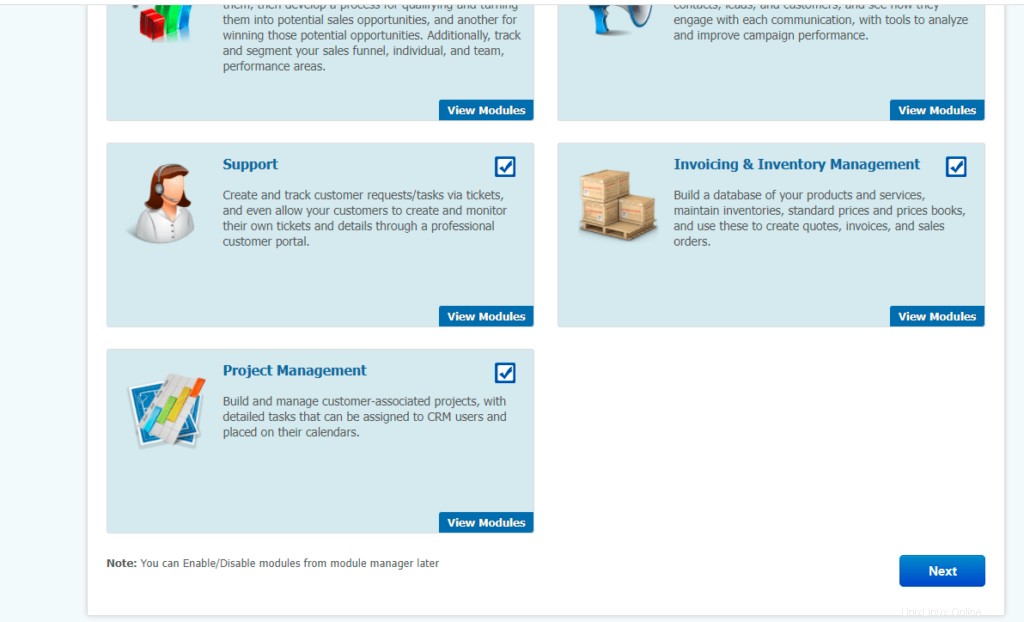
Sekarang pilih Modul yang ingin Anda gunakan di vTiger CRM dan Klik Berikutnya.
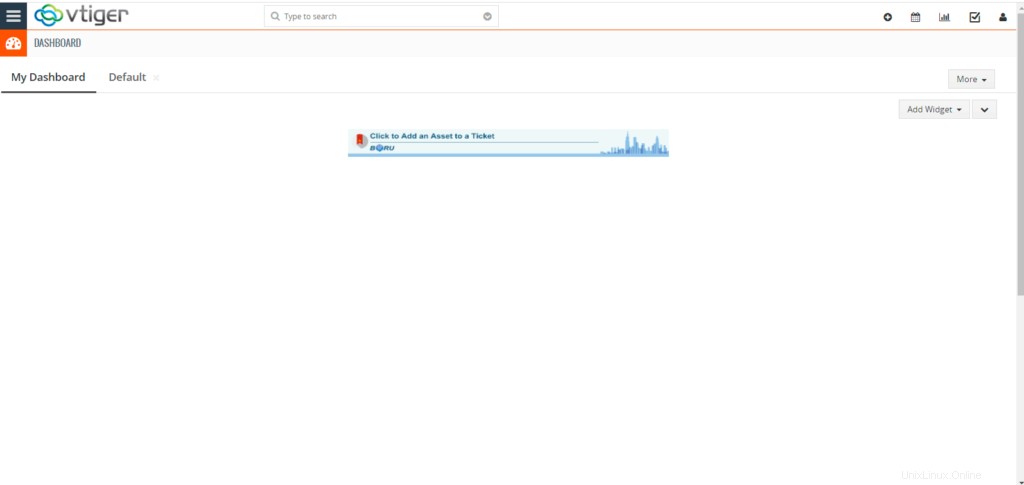
Sekarang vTIGER CRM terinstal dan siap digunakan.