Pengantar
Subversi adalah sistem kontrol versi open source. Didirikan pada tahun 2000 oleh CollabNet, Inc., proyek dan perangkat lunak Subversion telah melihat kesuksesan luar biasa selama dekade terakhir. Subversion telah menikmati dan terus menikmati adopsi luas baik di arena open source maupun dunia korporat.
USVN yang Ramah Pengguna adalah antarmuka web yang ditulis dalam PHP yang digunakan untuk mengonfigurasi repositori Subversion. Tujuannya adalah untuk memudahkan pembuatan proyek baru tanpa harus menggunakan antarmuka baris perintah, oleh karena itu, mungkin tanpa akses istimewa ke server. USVN kemudian akan menghasilkan daftar pengguna yang diizinkan untuk mengakses kode sumber Anda. Ini memungkinkan pendelegasian hak untuk mengelola repositori Subversion.
Instal Apache Subversion (SVN)
USVN membutuhkan server web untuk penyebaran. Jadi kita akan menginstal Apache HTTP Server.
# yum install -y httpdMulai dan aktifkan httpd layanan.
# systemctl start httpd
# systemctl enable httpd
Nonaktifkan Halaman selamat datang dari Apache HTTP Server.
# mv /etc/httpd/conf.d/welcome.conf /etc/httpd/conf.d/welcome.conf.orgNonaktifkan indeks direktori di konfigurasi Apache HTTP Server kemudian restart layanan httpd dengan perintah berikut:
# cp /etc/httpd/conf/httpd.conf /etc/httpd/conf/httpd.conf.org
# sed -i "s/Options Indexes FollowSymLinks/Options FollowSymLinks/" /etc/httpd/conf/httpd.conf
# systemctl restart httpd
Kemudian Anda harus mengizinkan layanan http melalui layanan firewalld dengan perintah :
# firewall-cmd --permanent --add-service=http
# firewall-cmd --reload
USVN juga membutuhkan database MySQL untuk menjadi database backend. Jadi, kita akan menginstal mariadb basis data dan php .
# yum install php mariadb-server php-mysql -yMulai dan aktifkan mariadb layanan.
# systemctl start mariadb
# systemctl enable mariadb
Konfigurasi server mariadb dengan perintah:
[root@unixcop ~]# mysql_secure_installation

NOTE: RUNNING ALL PARTS OF THIS SCRIPT IS RECOMMENDED FOR ALL MariaDB
      SERVERS IN PRODUCTION USE!  PLEASE READ EACH STEP CAREFULLY!

In order to log into MariaDB to secure it, we'll need the current
password for the root user.  If you've just installed MariaDB, and
you haven't set the root password yet, the password will be blank,
so you should just press enter here.

Enter current password for root (enter for none):
OK, successfully used password, moving on...

Setting the root password ensures that nobody can log into the MariaDB
root user without the proper authorisation.

Set root password? [Y/n] Y
New password:
Re-enter new password:
Password updated successfully!
Reloading privilege tables..
 ... Success!


By default, a MariaDB installation has an anonymous user, allowing anyone
to log into MariaDB without having to have a user account created for
them.  This is intended only for testing, and to make the installation
go a bit smoother.  You should remove them before moving into a
production environment.

Remove anonymous users? [Y/n] Y
 ... Success!

Normally, root should only be allowed to connect from 'localhost'.  This
ensures that someone cannot guess at the root password from the network.

Disallow root login remotely? [Y/n] Y
 ... Success!

By default, MariaDB comes with a database named 'test' that anyone can
access.  This is also intended only for testing, and should be removed
before moving into a production environment.

Remove test database and access to it? [Y/n] Y
 - Dropping test database...
 ... Success!
 - Removing privileges on test database...
 ... Success!

Reloading the privilege tables will ensure that all changes made so far
will take effect immediately.

Reload privilege tables now? [Y/n] Y
 ... Success!

Cleaning up...

All done!  If you've completed all of the above steps, your MariaDB
installation should now be secure.

Thanks for using MariaDB!
[root@unixcop ~]#
Edit juga zona waktu di pengaturan php :
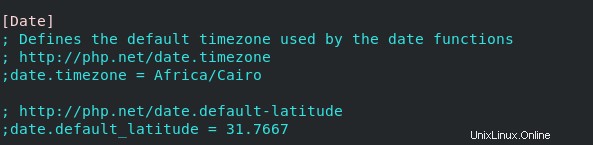
# vim /etc/php.iniDan tambahkan zona waktu ke baris ini
date.timezone = Seperti itu
date.timezone = Africa/Cairo
Instal Apache Subversion dan modul server Apache HTTP
Anda dapat mengunduhnya dengan perintah di bawah ini:
# yum install -y subversion mod_dav_svnInstal SVN yang Ramah Pengguna (USVN)
Unduh dan ekstrak USVN di Apache HTTP Server. Cukup ikuti perintah pada langkah-langkah di bawah ini:
# cd /var/www/html[root@unixcop html]# wget https://github.com/usvn/usvn/archive/1.0.7.tar.gz
--2021-08-24 07:28:42-- https://github.com/usvn/usvn/archive/1.0.7.tar.gz
Resolving github.com (github.com)... 192.30.255.113
Connecting to github.com (github.com)|192.30.255.113|:443... connected.
HTTP request sent, awaiting response... 302 Found
Location: https://codeload.github.com/usvn/usvn/tar.gz/1.0.7 [following]
--2021-08-24 07:28:42-- https://codeload.github.com/usvn/usvn/tar.gz/1.0.7
Resolving codeload.github.com (codeload.github.com)... 192.30.255.120
Connecting to codeload.github.com (codeload.github.com)|192.30.255.120|:443... connected.
HTTP request sent, awaiting response... 200 OK
Length: unspecified [application/x-gzip]
Saving to: ‘1.0.7.tar.gz’
[ <=> ] 4,577,871 5.77MB/s in 0.8s
2021-08-24 07:28:43 (5.77 MB/s) - ‘1.0.7.tar.gz’ saved [4577871]
[root@unixcop html]#Ekstrak file tar yang diunduh:
[root@unixcop html]# tar xvf 1.0.7.tar.gz Ganti nama file yang diekstrak menjadi usvn:
[root@unixcop html]# mv usvn-1.0.7 usvnKemudian pergi ke direktori usvn dan buat direktori file dengan mengatur beberapa izin folder yang diperlukan dengan perintah di bawah ini:
[root@unixcop html]# cd usvn
[root@unixcop usvn]# mkdir files
[root@unixcop usvn]# chmod -R g+w {public,files,config}
[root@unixcop usvn]# chgrp -R apache /var/www/html/usvn
[root@unixcop usvn]# restorecon -R /var/www/html/usvn
Terakhir, Konfigurasikan aplikasi USVN di Server Apache.
[root@unixcop usvn]# vim /etc/httpd/conf.d/usvn.conf Kemudian tambahkan berikut ini:
<Directory /var/www/html/usvn/>
AllowOverride All
Require all granted
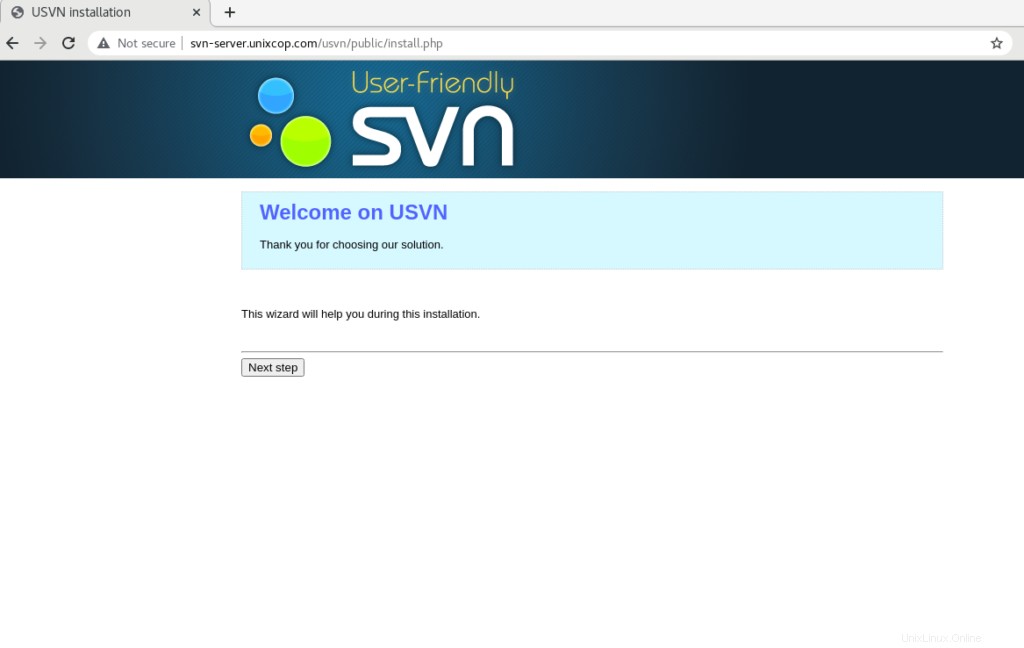
</Directory>Di browser buka http://ip_address/usvn/public/install.php untuk memulai penginstalan.
Atau buka http://svn-server.unixcop.com/usvn/public/install.php , dan mulai penginstalan USVN.
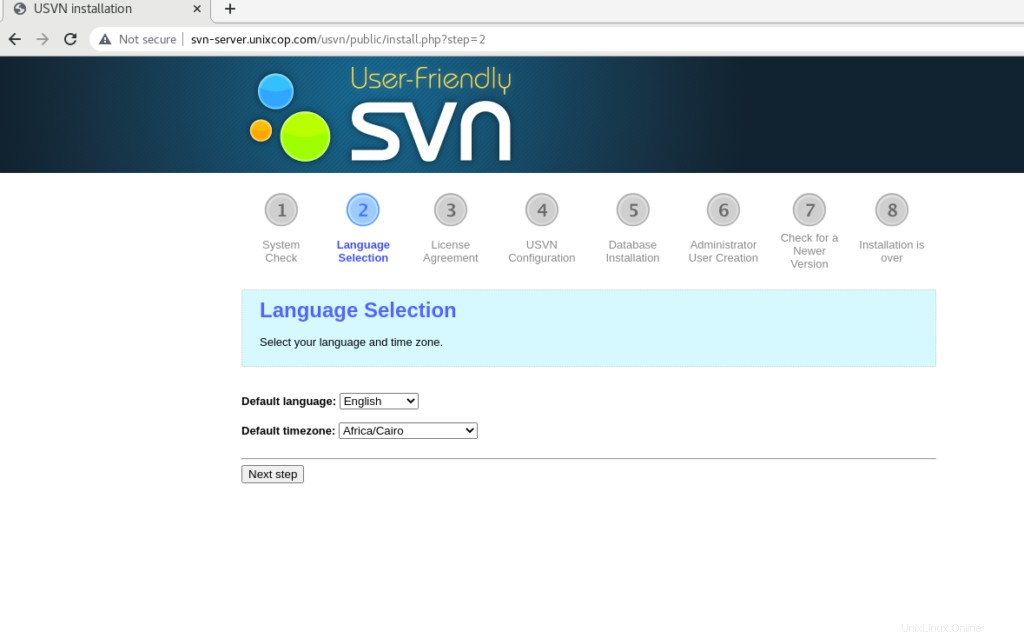
Pilih bahasa dan zona waktu Anda.
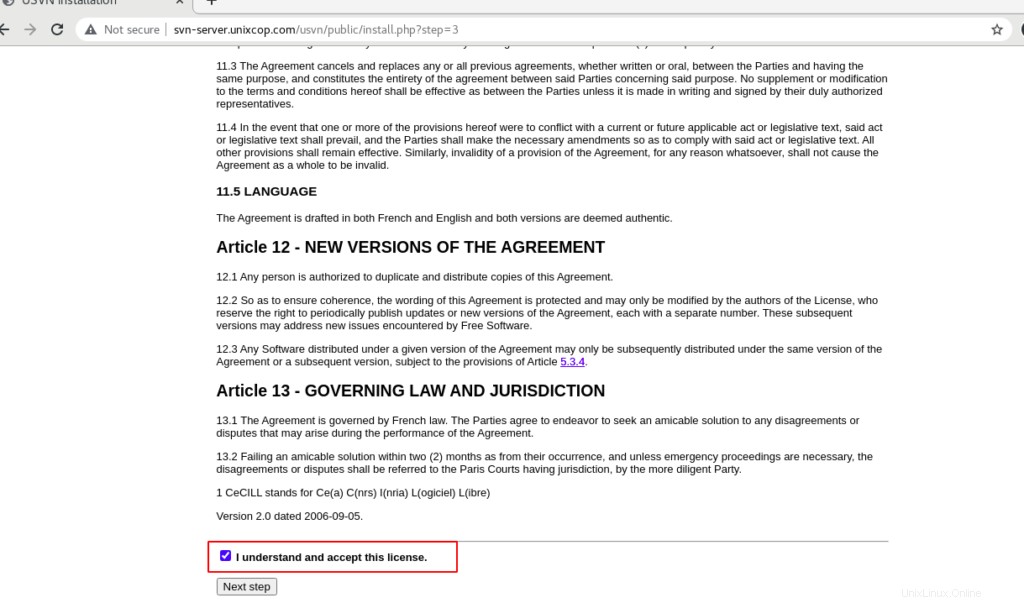
Centang Saya mengerti dan menerima lisensi ini lalu Klik Langkah Berikutnya .
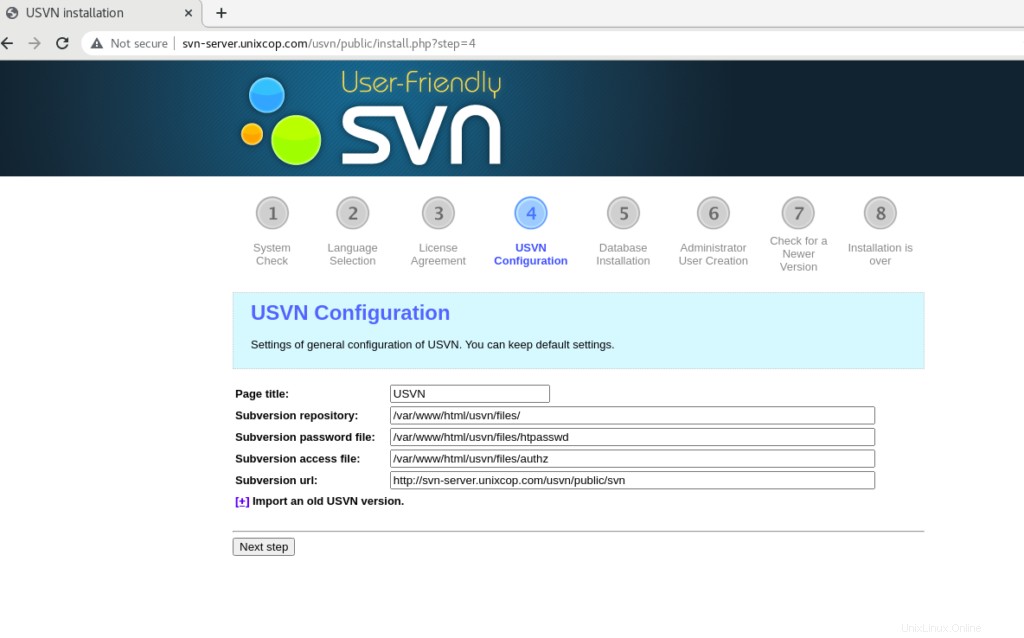
Klik Langkah Berikutnya .
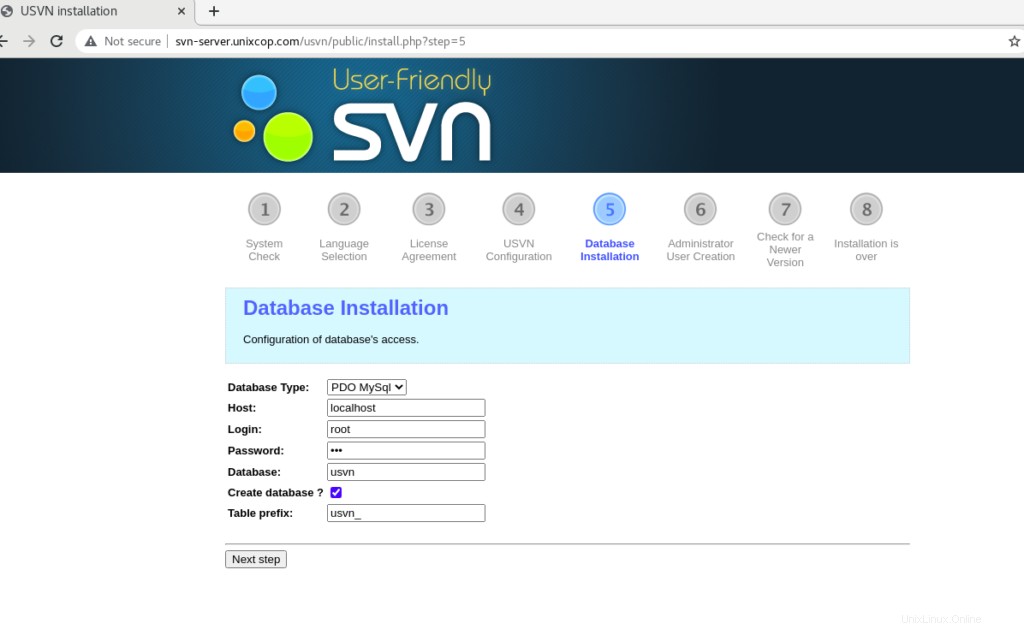
Berikan kata sandi basis data dan centang Buat basis data ? lalu klik berikutnya .
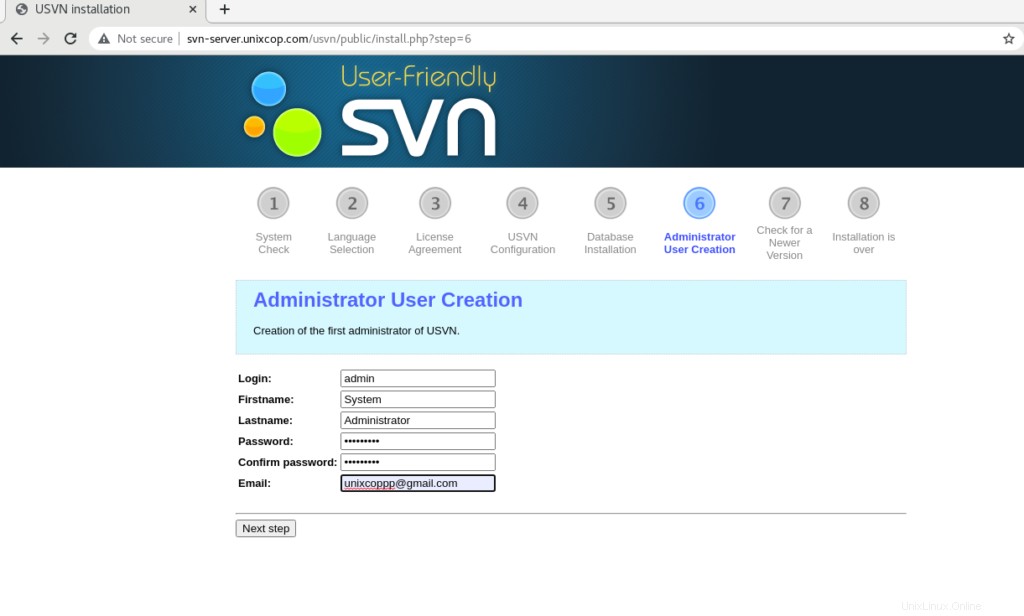
Buat Admin USVN lalu klik Langkah Berikutnya.
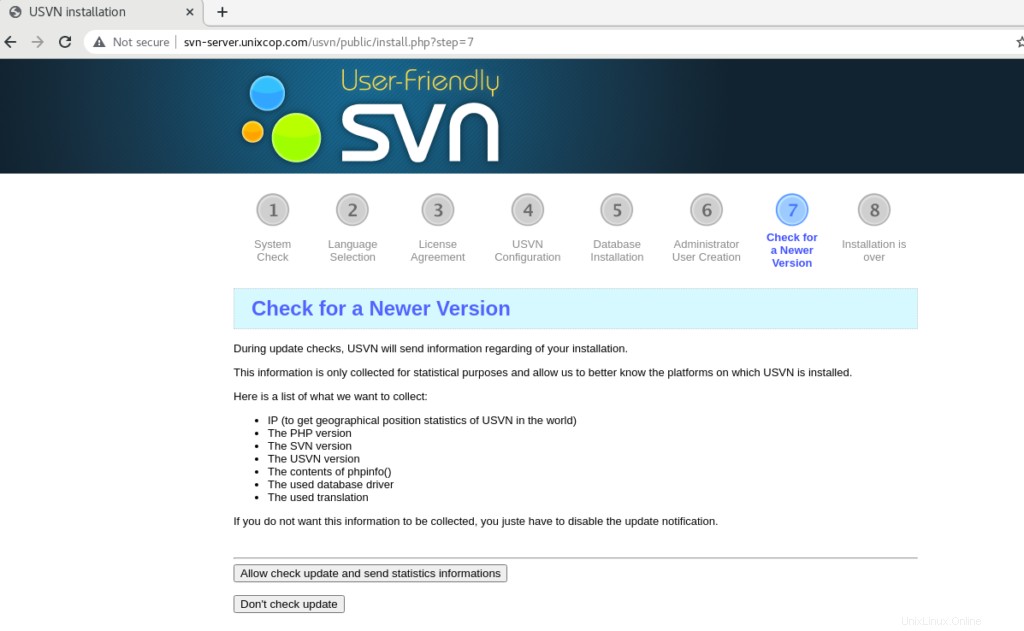
Nonaktifkan pemeriksaan otomatis untuk versi USVN yang diperbarui atau Izinkan.
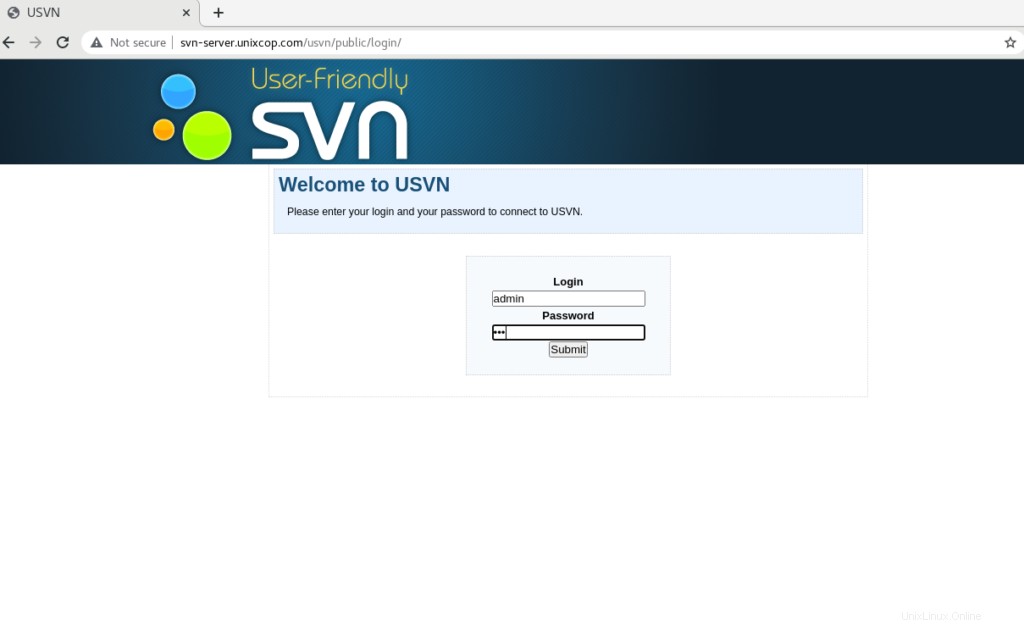
Anda akan diarahkan ke halaman login dengan pengguna admin. Jadi silakan masukkan nama pengguna (admin) dan kata sandi yang benar yang baru saja Anda buat.
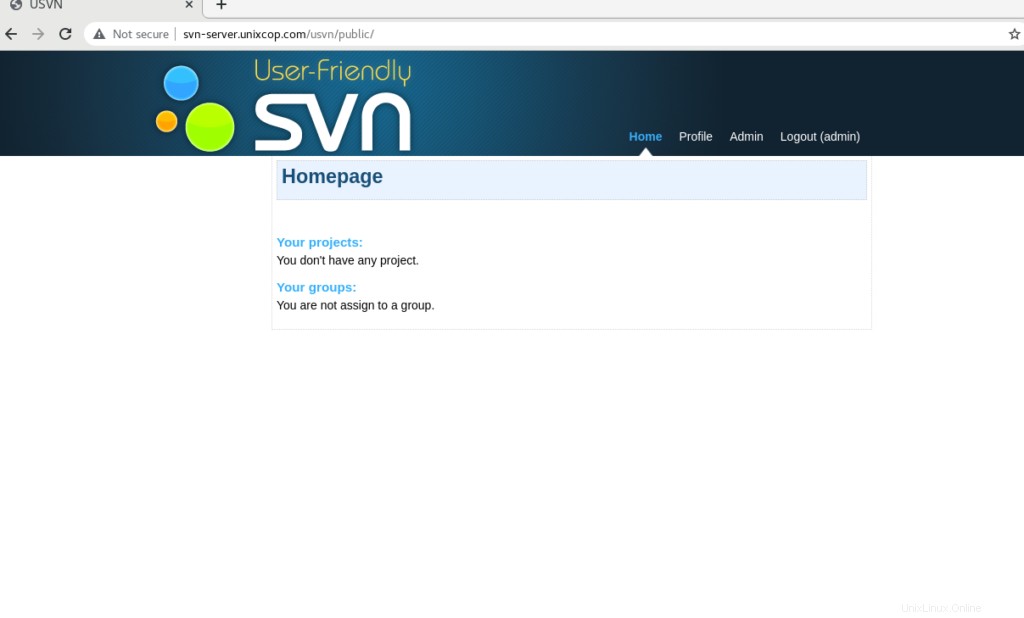
Kesimpulan
Jadi Kami telah berhasil menginstal Aplikasi (USVN) dan Apache Subversion (SVN) .
Tutorial ini untuk mempelajari Cara Menginstal Subversion &USVN (Apache SVN) di CentOS 8.